import java.sql.*;
class MySqlTest {
public static void main(String args[]) {
String url = "jdbc:mysql://slogix.in:3306/";
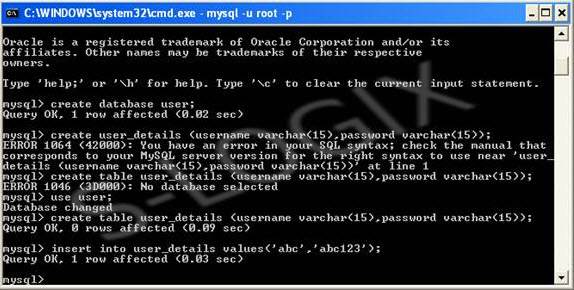
String dbName = "user";
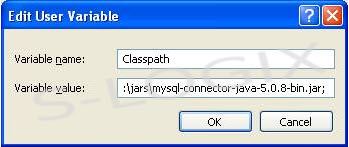
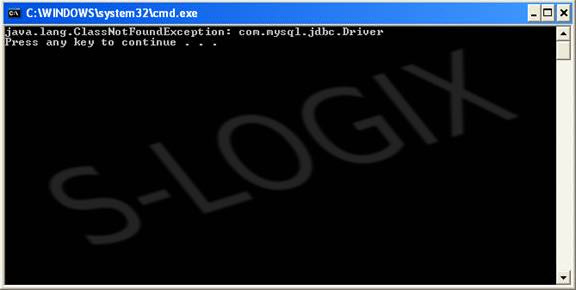
String driver = "com.mysql.jdbc.Driver";
String userName = "root";
String dbpassword = "root";
try {
// loading driver
Class.forName(driver);
// Connection set up with database named as user
Connection c = DriverManager.getConnection(url+dbName,userName,dbpassword);
// Creating statement for the connection to use sql queries
Statement st = c.createStatement();
// Executing sql query using the created statement over the table user_details located in the database pointing by the dsn
ResultSet rs = st.executeQuery("SELECT * from user_details");
// Accessing the result of query execution
while(rs.next())
{
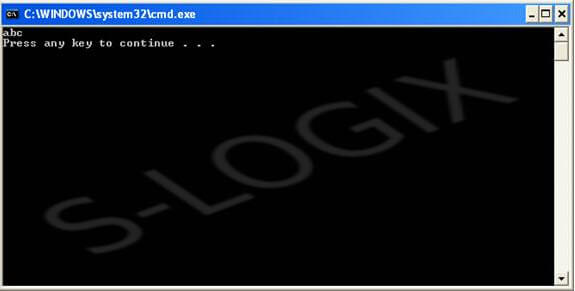
String username = rs.getString(1);
System.out.println(username);
}
// Closing the statement and connection
st.close();
c.close();
}
catch (Exception e) {
System.out.println(e);
}
}
}