1.Download “EdgeCloudSim-master.zip” source code from the address “https://github.com/CagataySonmez/EdgeCloudSim”.
2.Copy the downloaded “EdgeCloudSim-master.zip” file wherever you want and extract the file.
3.It will be extracted with the folder name of EdgeCloudSim-master and it contains the sub-folders of doc,lib,scripts and src.
4.Now activate NetBeans IDE by clicking on the icon and start up screen will appear.
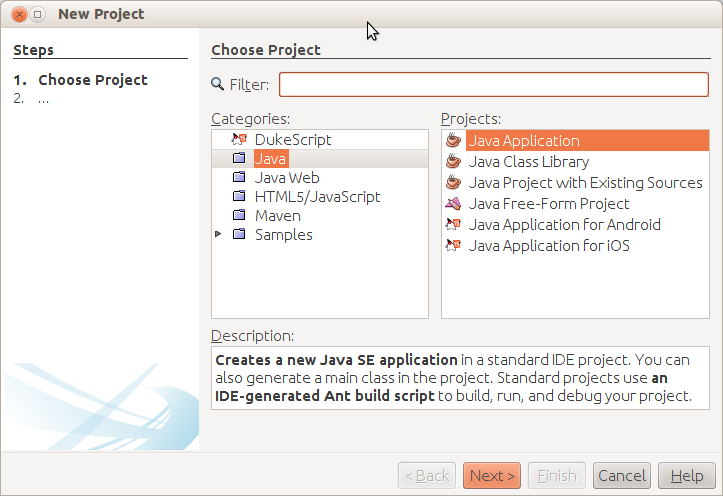
5. Create a new Project by selecting the “NewProject” command from the file menu of IDE.
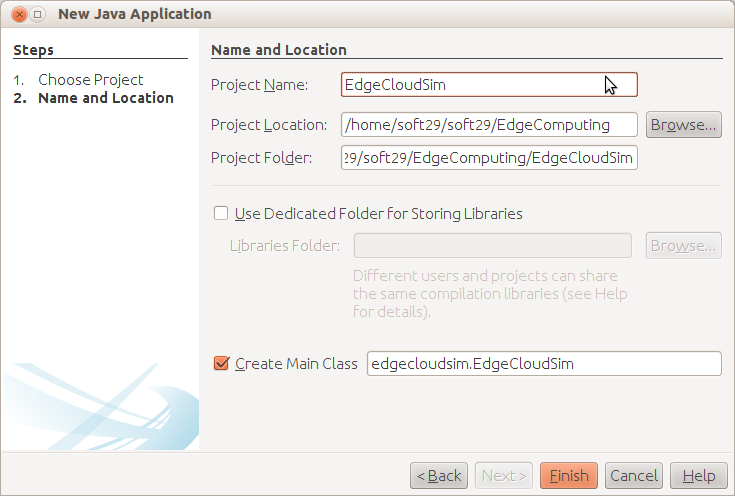
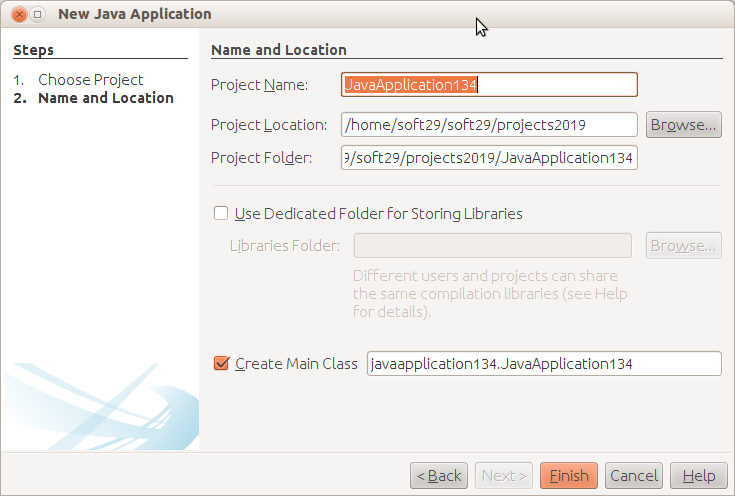
6.Now select “Java” from catagories box and choose “Java Application” from Projects box. Then click “Next” button
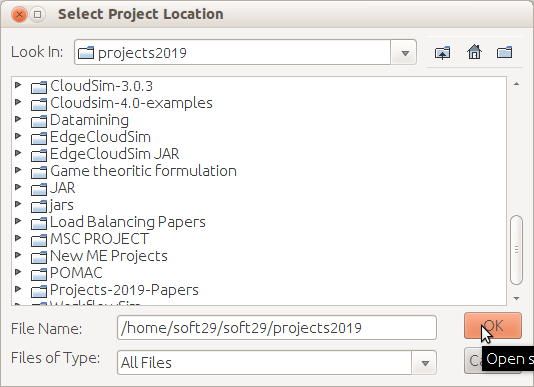
7.Click on Browse button
8.Select the project location where you want to store it.
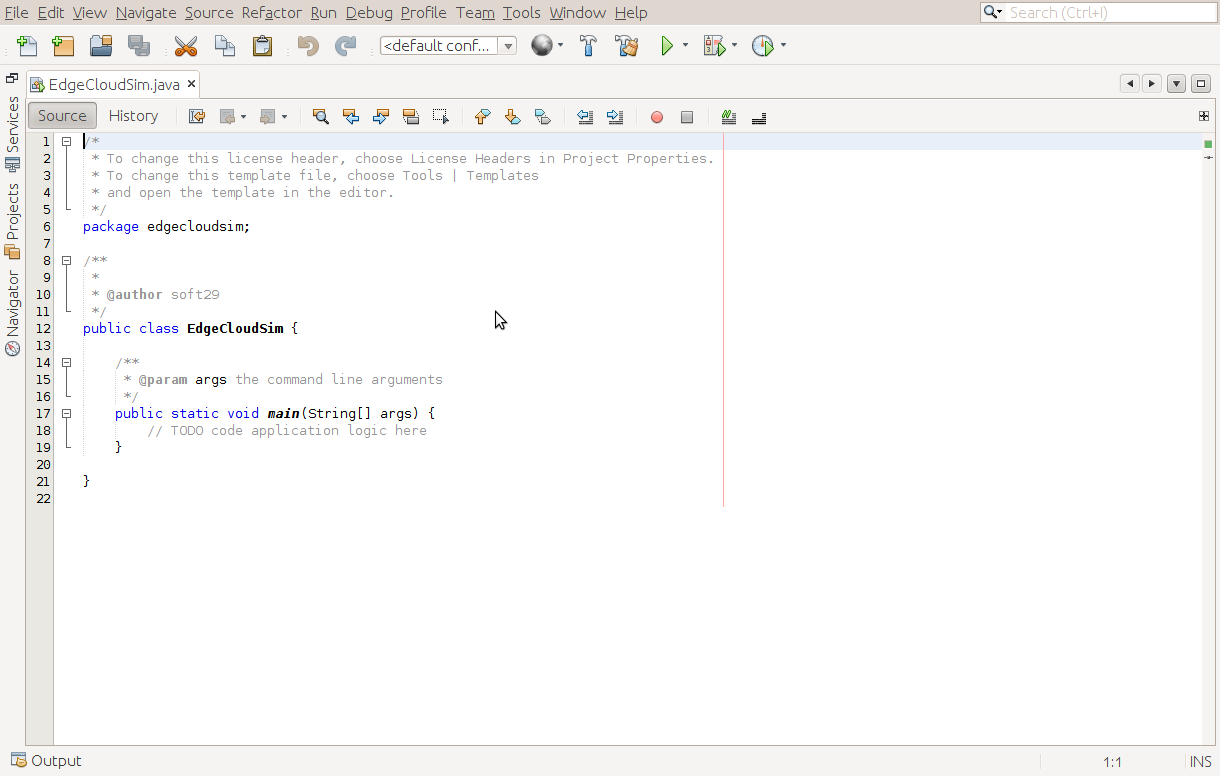
9.The screen will appear as shown below, now choose “Close All Projects” command from file menu and exit from NetBeans IDE
