Condition for Create an SNS Topic for Email Alerts
Description: This task involves configuring an alerting mechanism that delivers notifications through email.The process begins by accessing the notification service in the cloud console.A new entity is created to act as the broadcast point for alerts.Once this entity is established, an email endpoint is added as a recipient. Before notifications can be delivered, the receiving address must approve the request.A confirmation message is automatically sent to the specified mailbox.Upon approval, the email destination becomes active, allowing future alerts to be delivered automatically.This workflow ensures that alert messages can be distributed reliably to chosen recipients, enabling effective monitoring and timely awareness of system events.
Steps
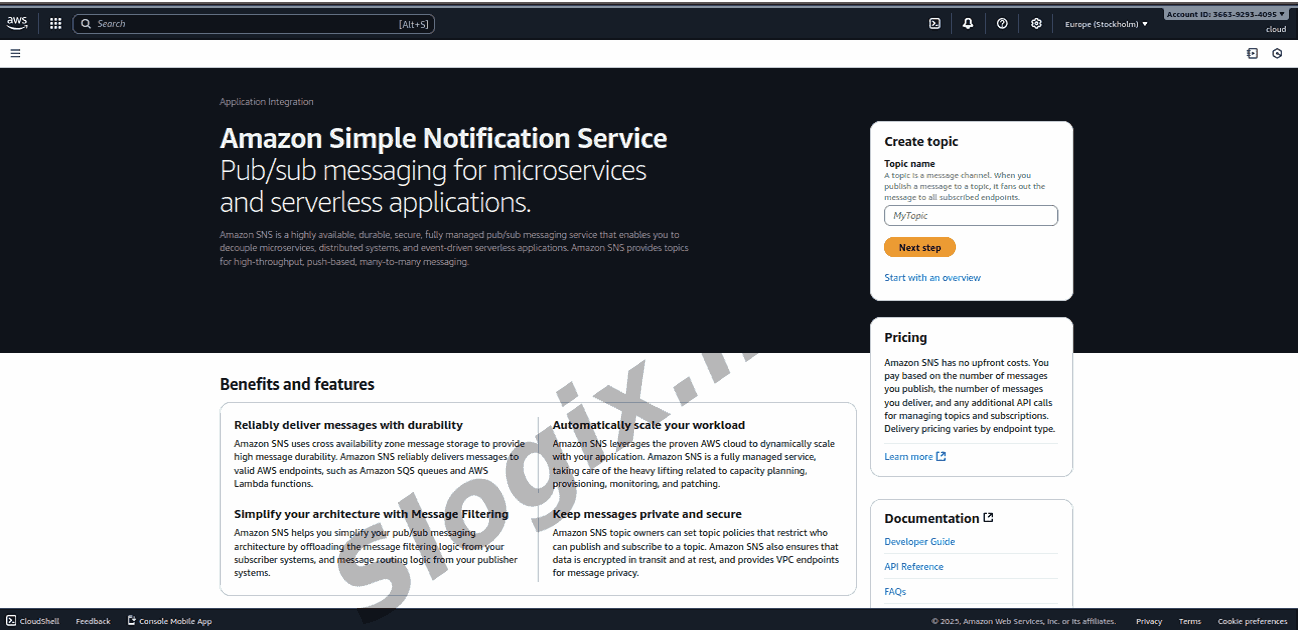
Step 1 : Open SNS
Login to AWS Console
Search at top: SNS
Click Simple Notification Service
Step 2 : Create a Topic
In the left menu click Topics
Click Create topic
Choose Standard
Enter name: My-CloudWatch-Alerts
(Optional) Display name (for SMS only) → can leave blank
Scroll down and click Create topic
Topic created successfully
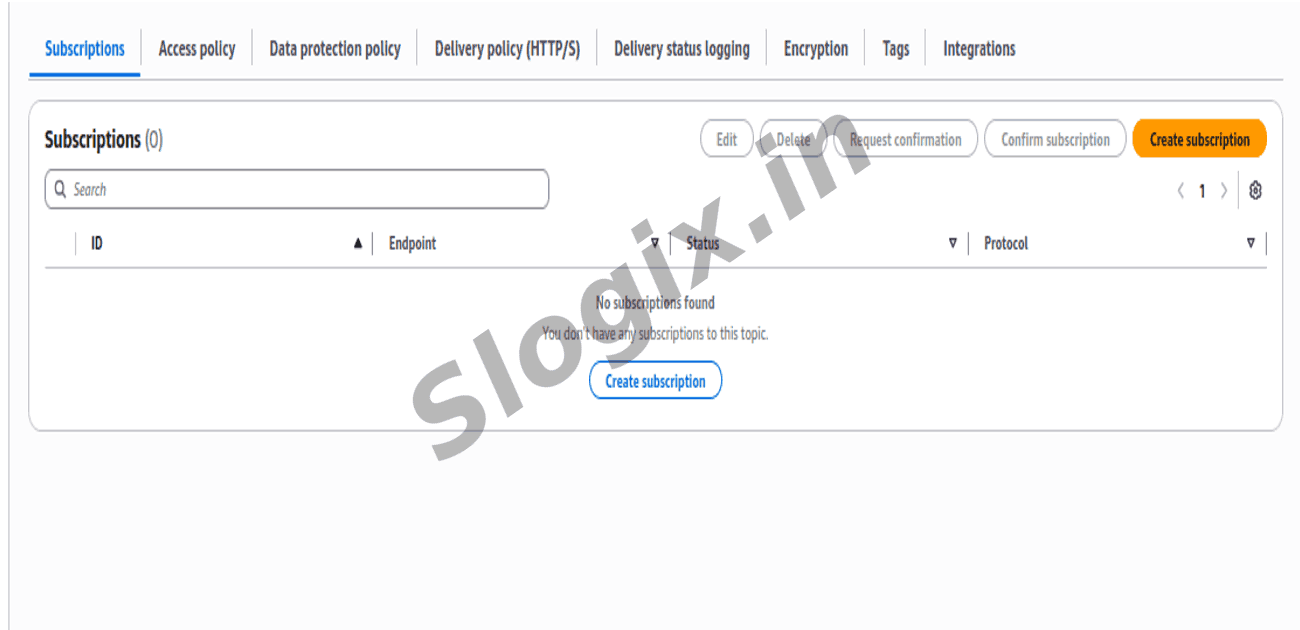
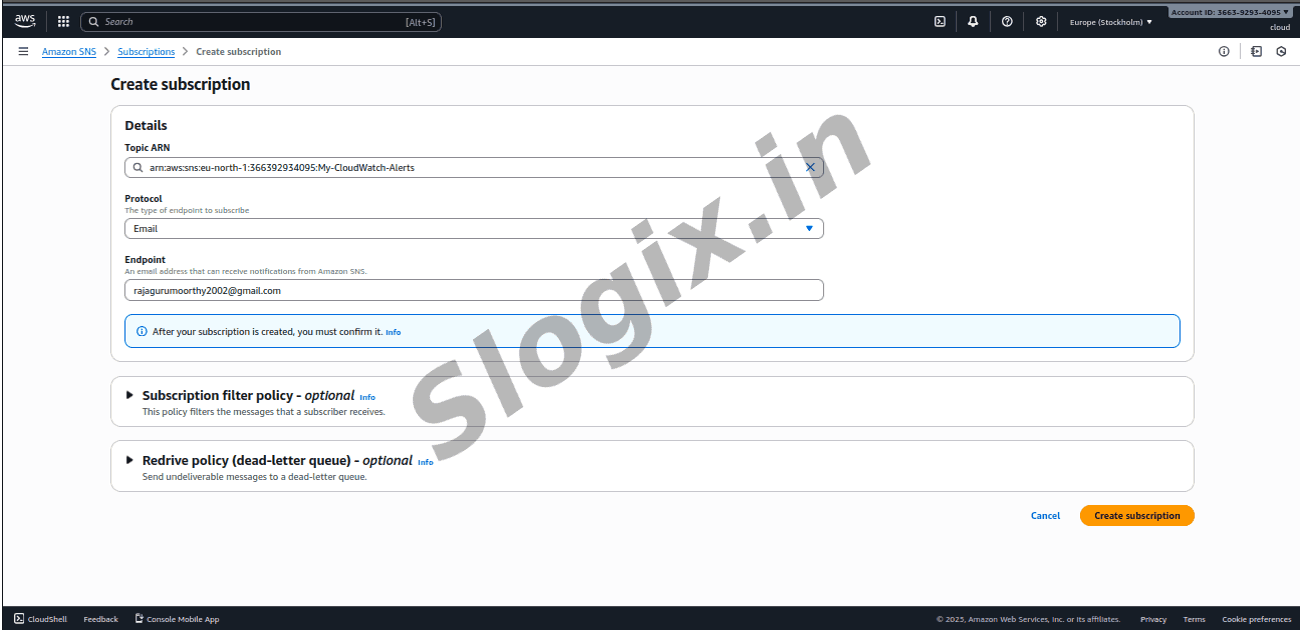
Step 3 : Create Subscription (Add Email)
After topic opens, click Create subscription
Set:
Protocol: Email
Endpoint: mail@gmail.com (enter email id)
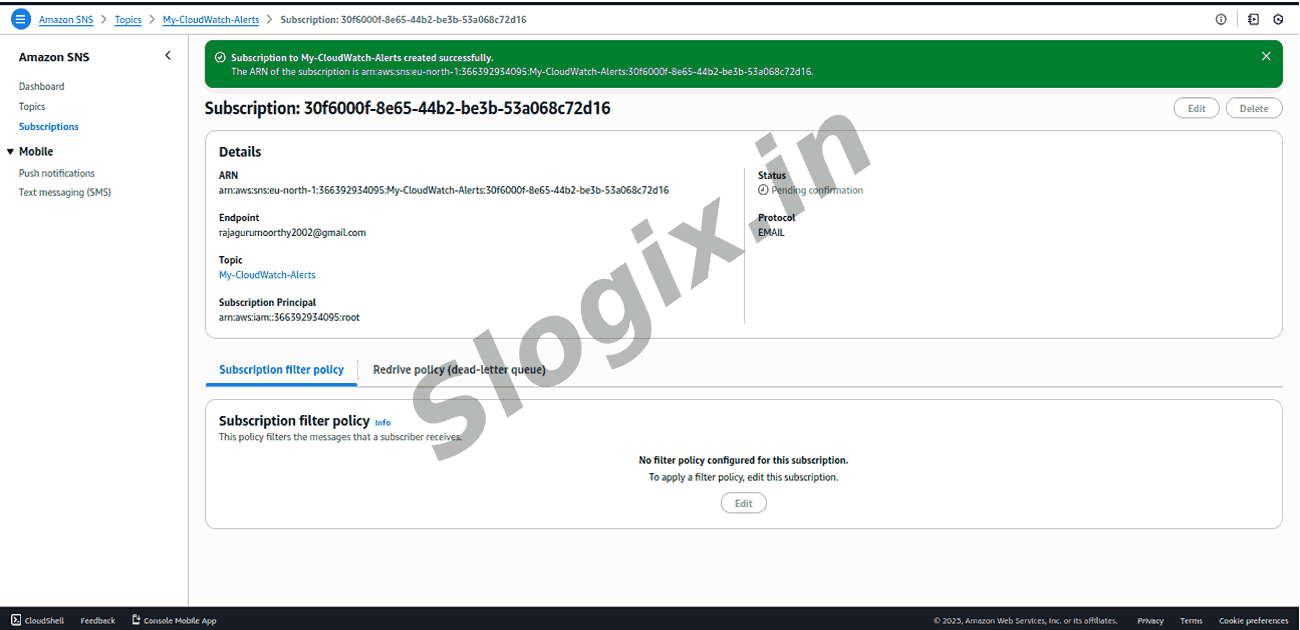
Click Create subscription
Now see this:
Subscription status
Pending confirmation
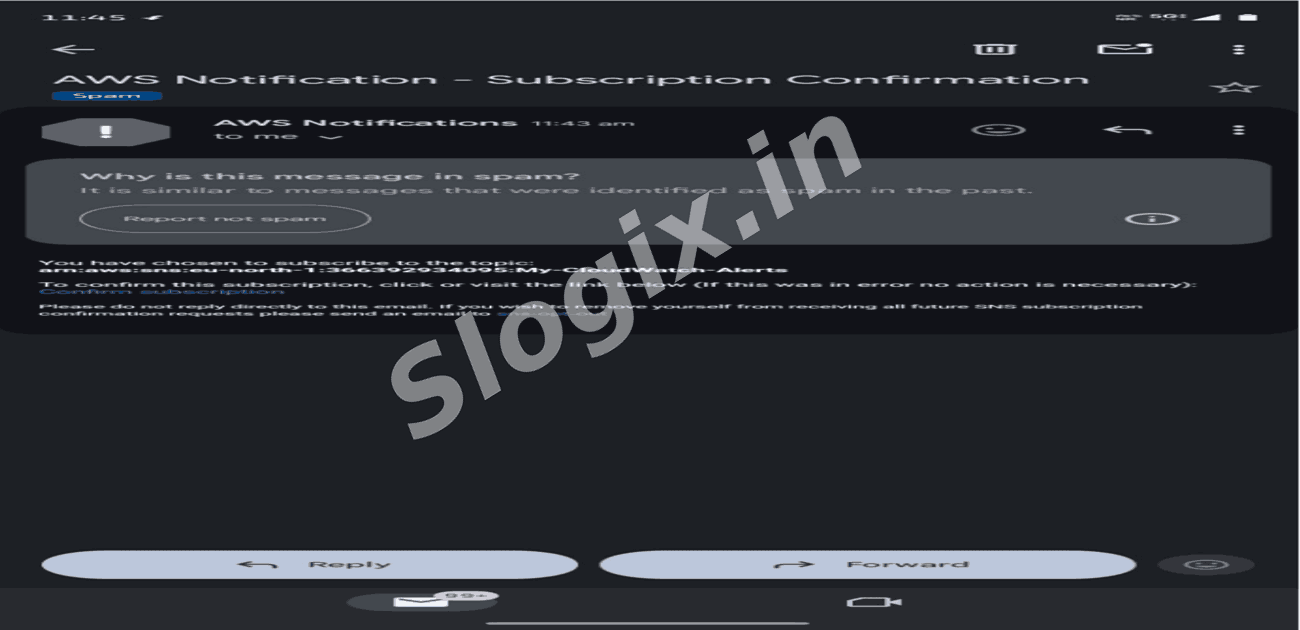
Step 4 : Confirm Subscription in Email
Open the email inbox (check Spam/Promotions also)
Then receive mail:
AWS Notification - Subscription Confirmation
Open it and click:
Confirm subscription
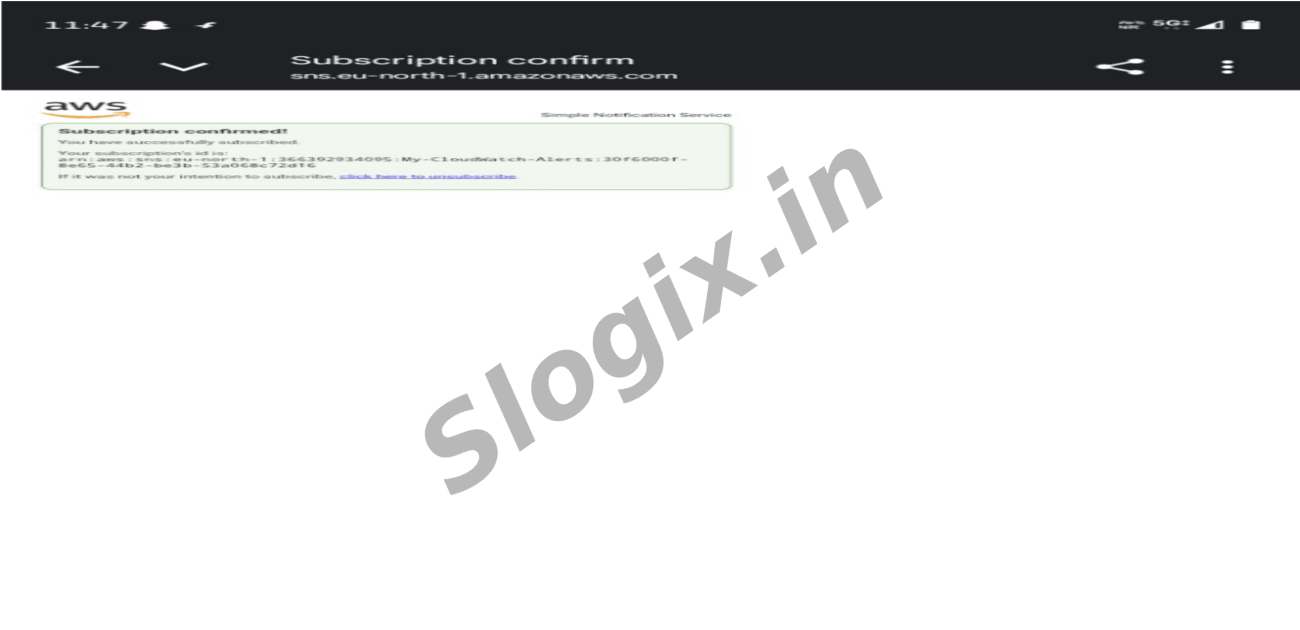
A browser page opens saying:
Subscription confirmed!
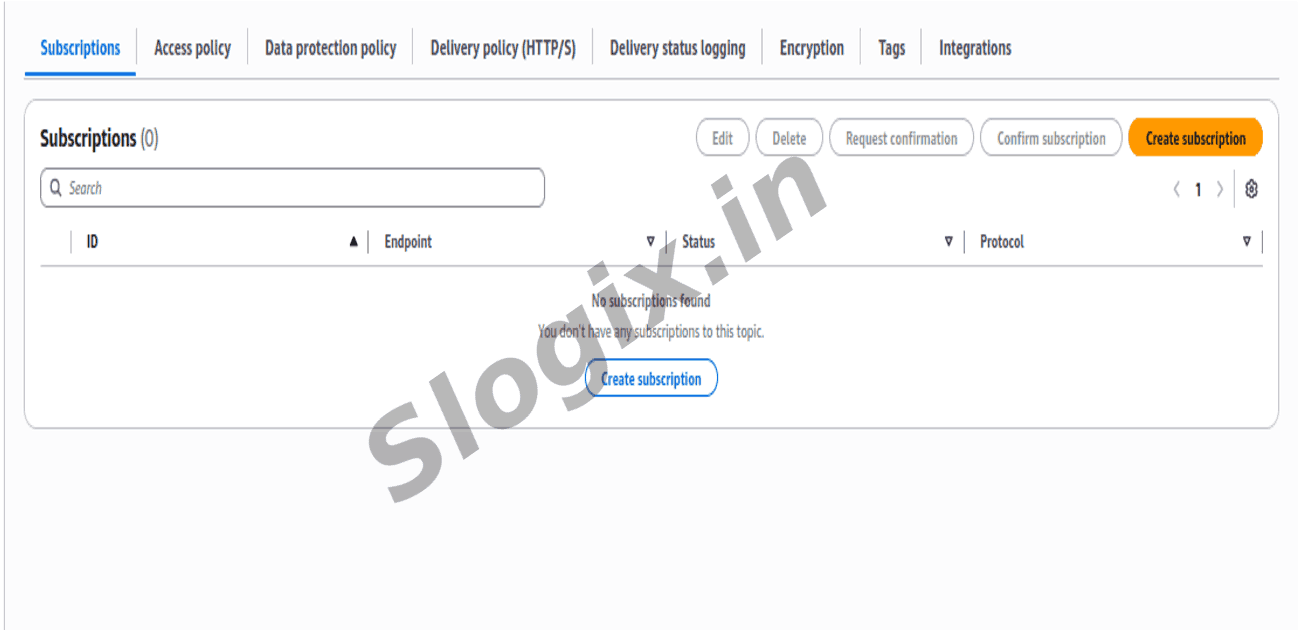
Step 5 : Verify in AWS
Go back to:
SNS → Topics → My-CloudWatch-Alerts → Subscriptions tab
Now status will show:
Confirmed (instead of Pending)
 Research Breakthrough Possible @S-Logix