How to Create a Basic .gitlab-ci.yml File and Run a Simple Pipeline in GitLab?
Share
Condition for Create a Basic .gitlab-ci.yml File and Run a Simple Pipeline in GitLab
Description: GitLab CI/CD allows automated execution of tasks such as building, testing, or deploying code whenever you push changes to the repository. To trigger a pipeline, you must create a .gitlab-ci.yml file inside your project. This file contains pipeline instructions. In this example, we create a simple CI configuration that prints a message “GitLab CI is working!” to confirm that the pipeline is running successfully.
Steps
Step 1: Open your project folder
Navigate to your local Git project directory.
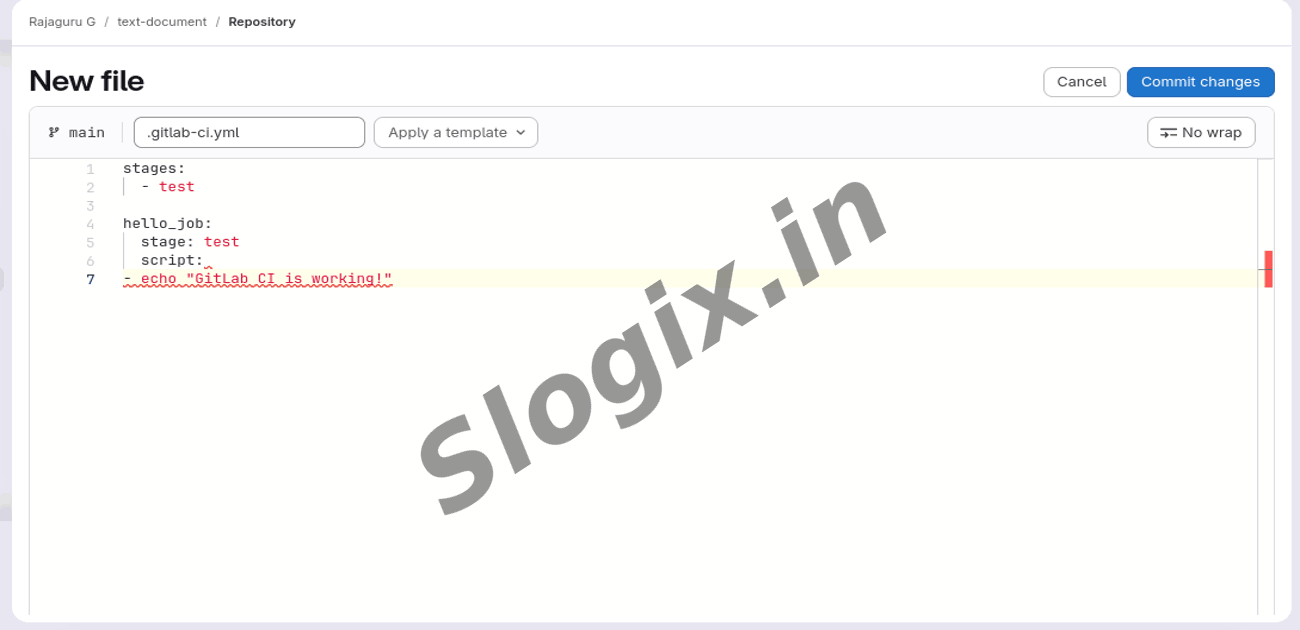
Step 2: Create a new CI configuration file
Create a file named .gitlab-ci.yml
Example:
nano .gitlab-ci.yml
Step 3: Add basic CI pipeline code
Copy and paste the following:
stages:
- test
hello_job:
stage: test
script:
- echo "GitLab CI is working!"
This creates one stage named test
One job hello_job
It prints a message when pipeline runs
Save and exit.
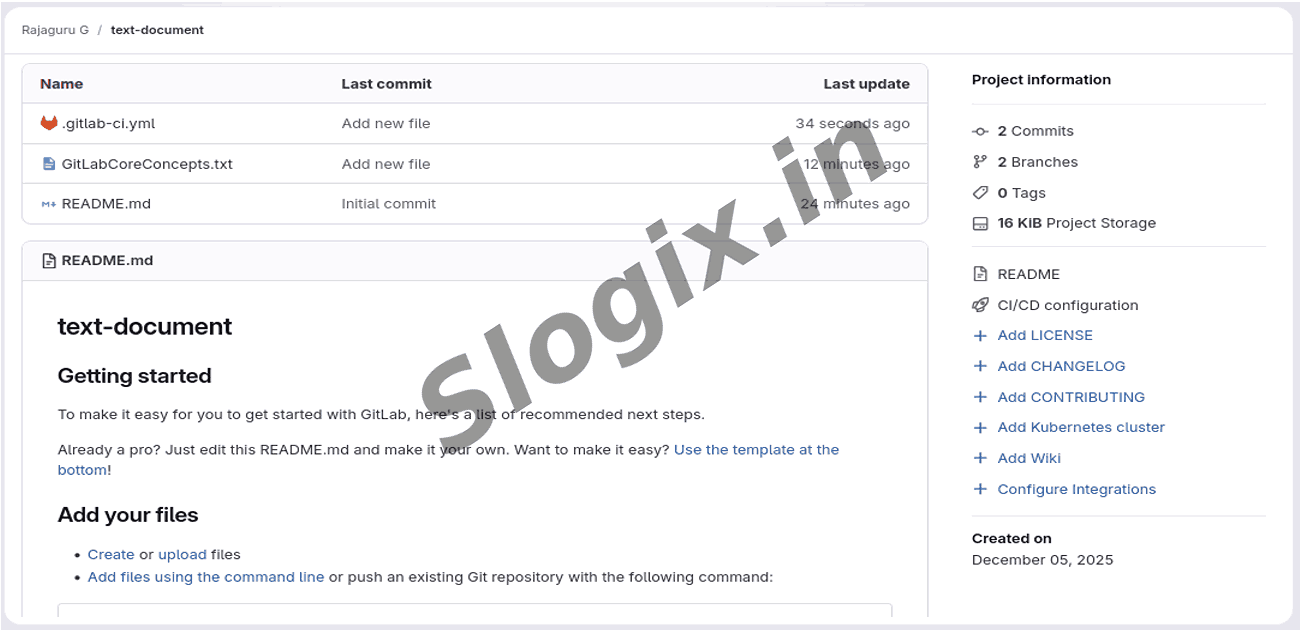
Step 4: Add the file to Git
Tell Git that a new file has been created.
git add .gitlab-ci.yml
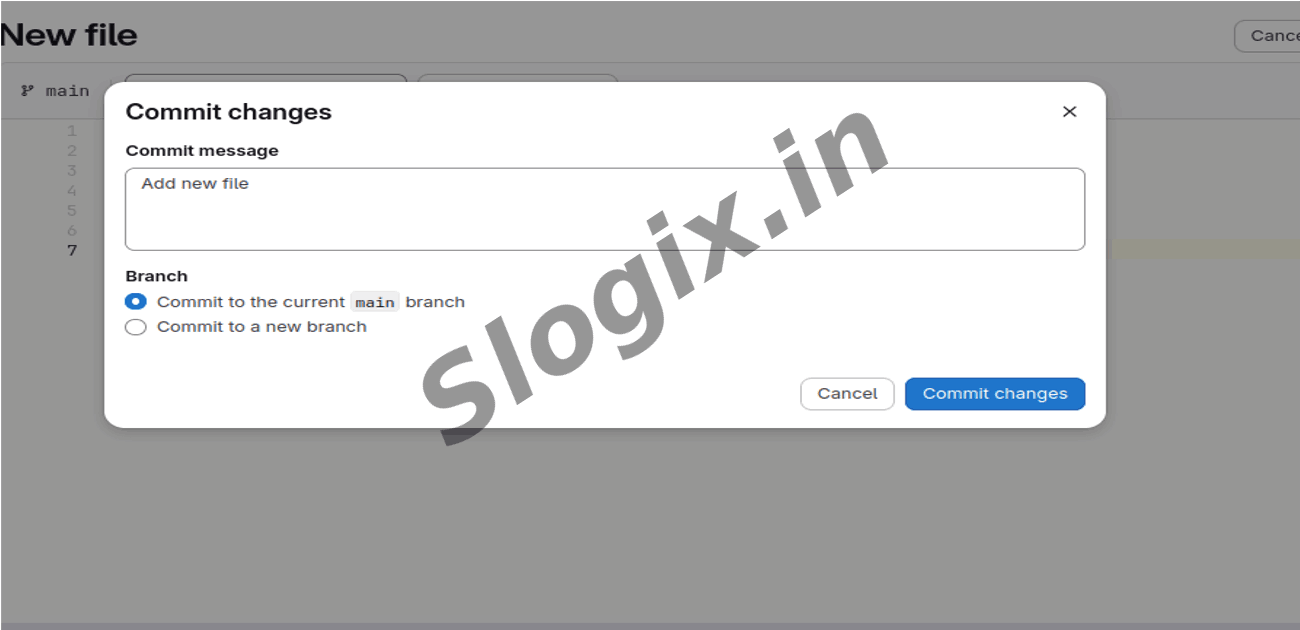
Step 5: Commit the change
Commit the file with a message.
git commit -m "Added basic GitLab CI pipeline"
Step 6: Push changes to GitLab
This triggers the pipeline.
git push
Step 7: Verify pipeline in GitLab
Go to:
GitLab → Project → CI/CD → Pipelines
You should see pipeline running, and when finished:
hello_job → Passed
Output: “GitLab CI is working!”
 Research Breakthrough Possible @S-Logix