How to Create a Maven Project from Scratch and Push the Project Code into GitLab Successfully?
Share
Condition for Create a Maven Project from Scratch and Push the Project Code into GitLab Successfully
Description: A Maven project is a standard way of building Java applications using project configuration (pom.xml). In DevOps, developers push code into Git platforms like GitLab to maintain version control and collaborate with team members. This exercise teaches how to generate a Maven project, configure Git, connect remote GitLab repository, and push the project. Issues such as branch protection and access token authentication are considered because GitLab restricts unauthorized pushes for safety.
Steps
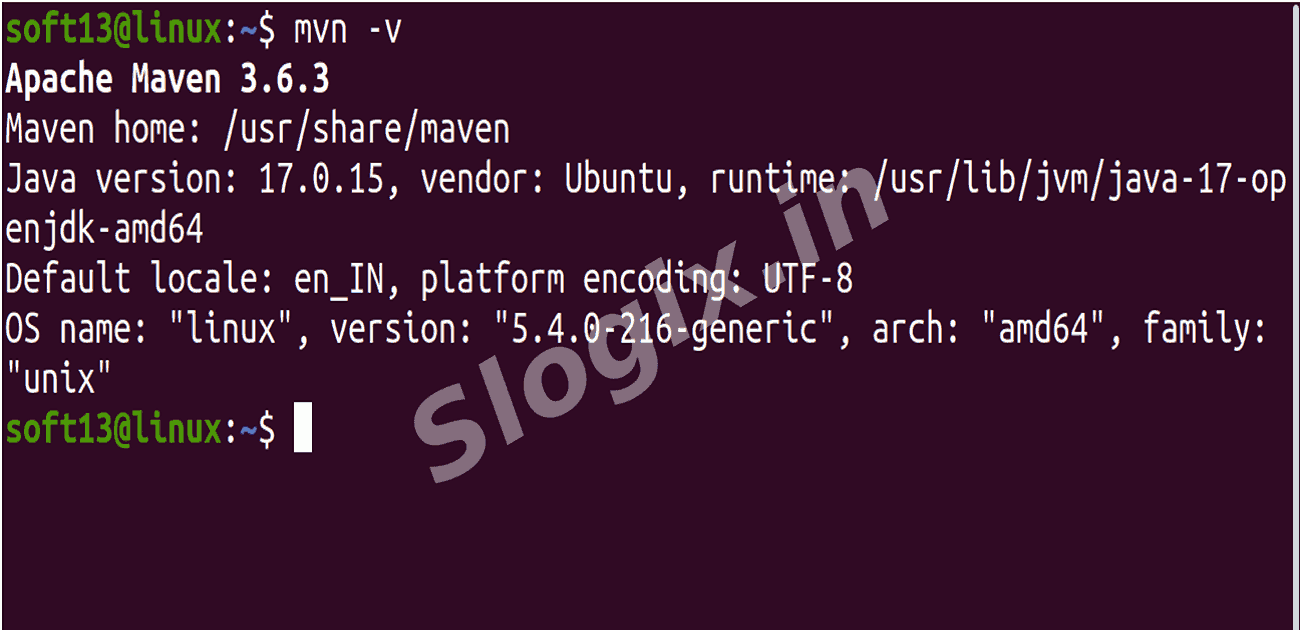
Step 1 — Verify Maven installation
Ensure Maven is installed and working.
mvn -v
If this displays version details, Maven is ready.
Step 2 — Create a Maven project (From NetBeans OR Java IDE)
You can create a simple Java Maven project through NetBeans.
Step 3 — Create Maven Project using Command
Run this command anywhere in your terminal to generate a sample Maven project:
mvn archetype:generate -DgroupId=com.example \
-DartifactId=demo-app \
-DarchetypeArtifactId=maven-archetype-quickstart \
-DinteractiveMode=false
✔ A project folder named demo-app is created.
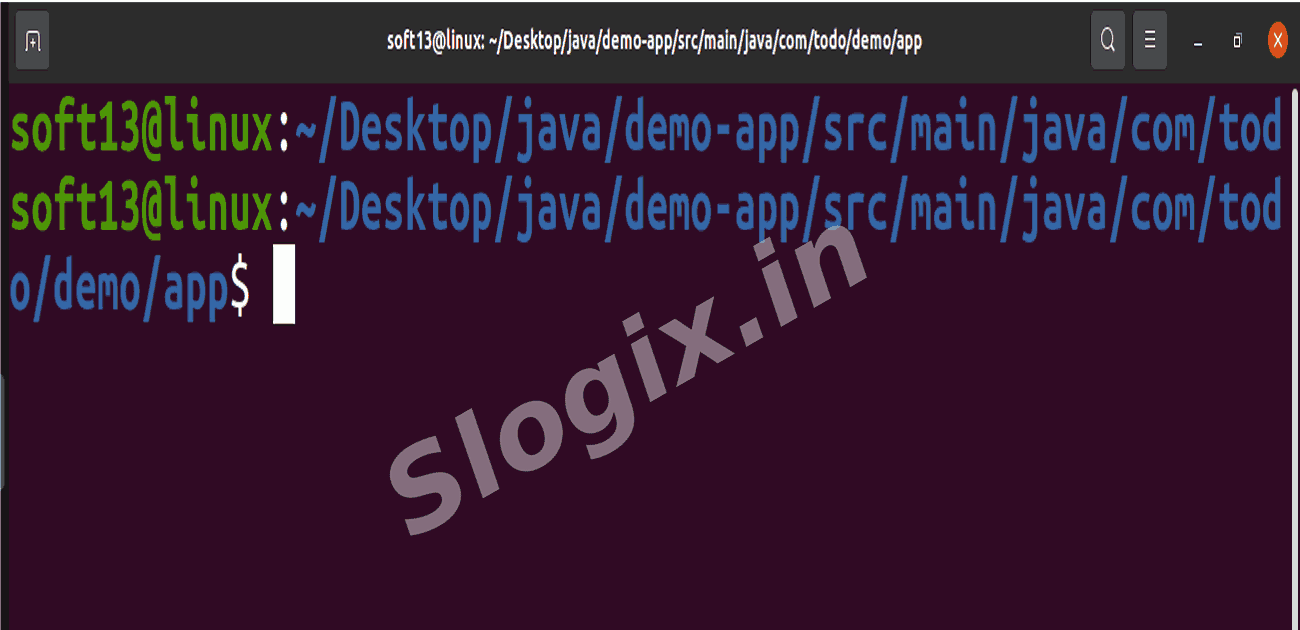
Step 4 — Move into your project directory
Navigate into the generated project folder.
Example:
cd ~/Desktop/java/demo-app/
Step 5 — Initialize Git in the project
Start Git version control for the project.
git init
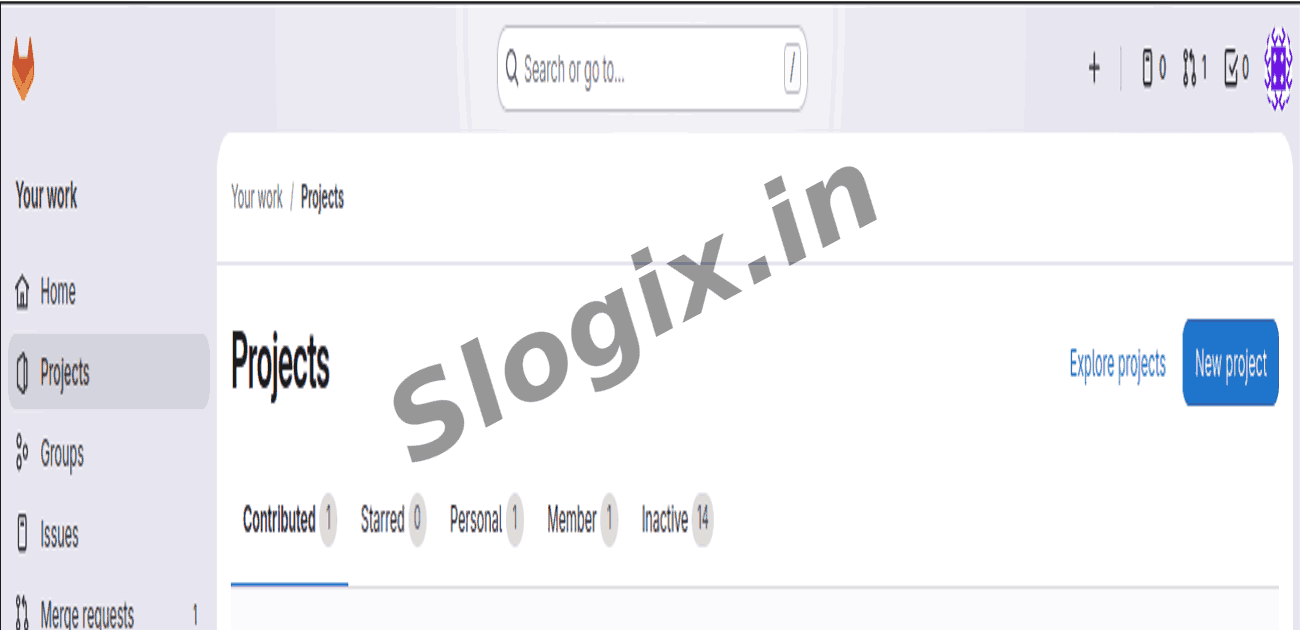
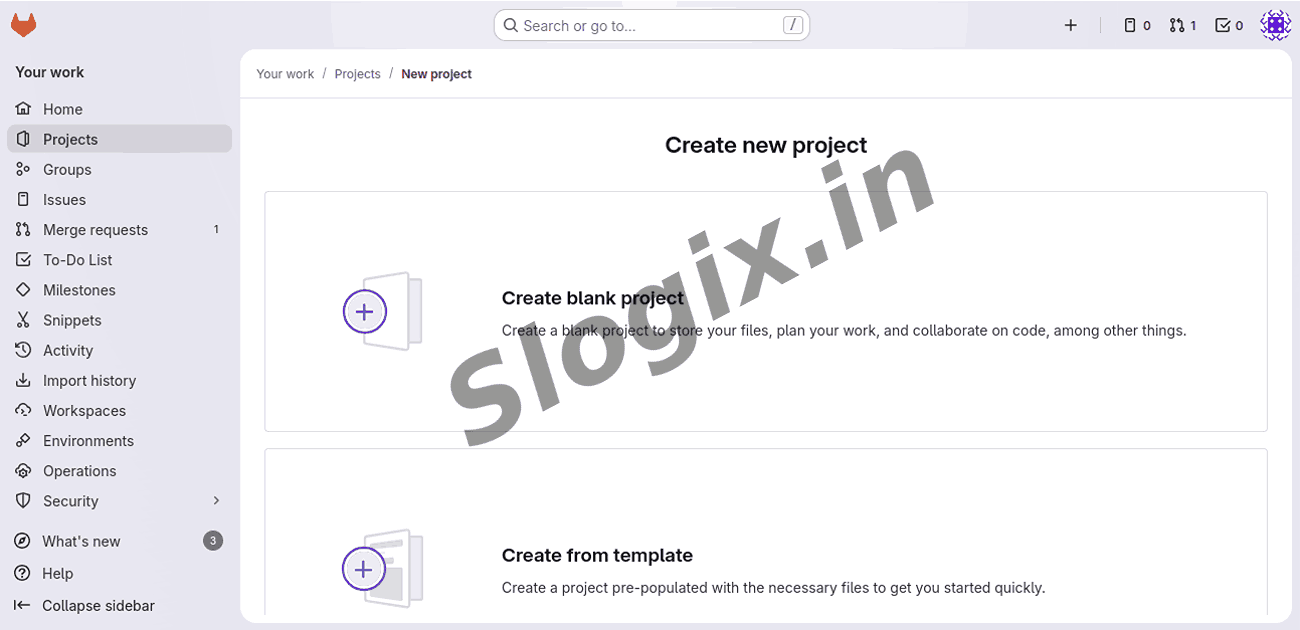
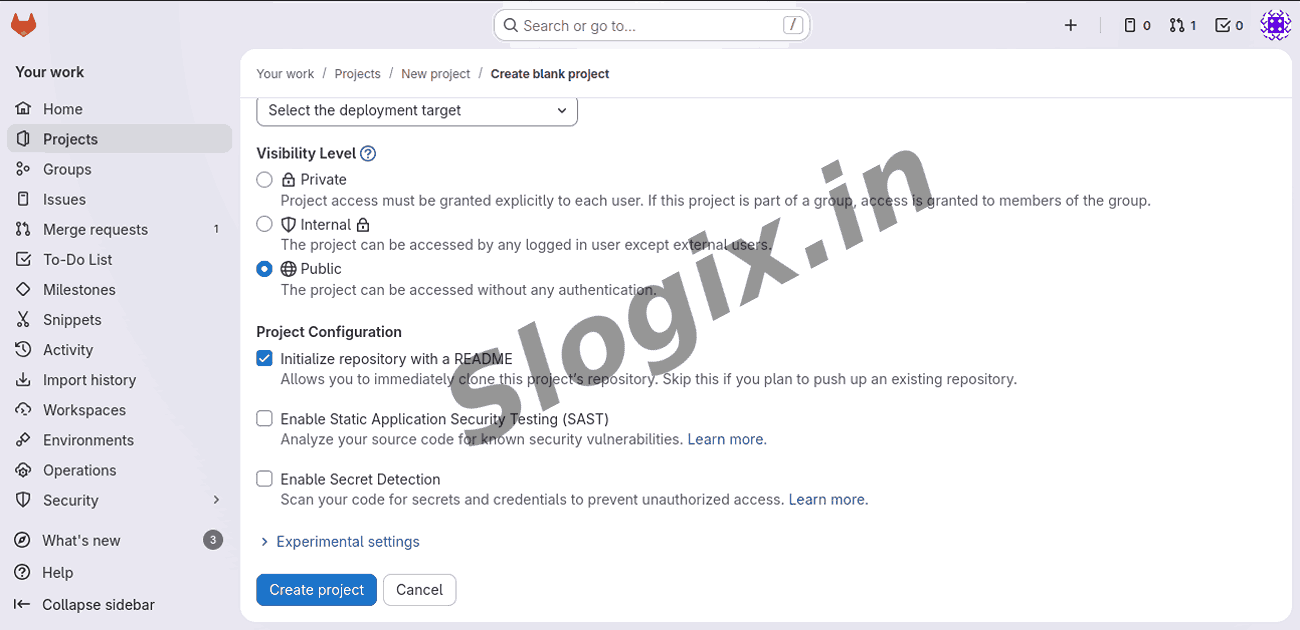
Step 6 — Create new repository in GitLab
Go to GitLab → New Project → Create Blank Project
Project Name: sample-ci-app
(Do not upload files manually)
Step 7 — Add GitLab as remote repository
Connect your local project to GitLab URL:
git remote remove origin
git remote add origin https://gitlab.com/rajagurumoorthy2002/sample-ci-app.git
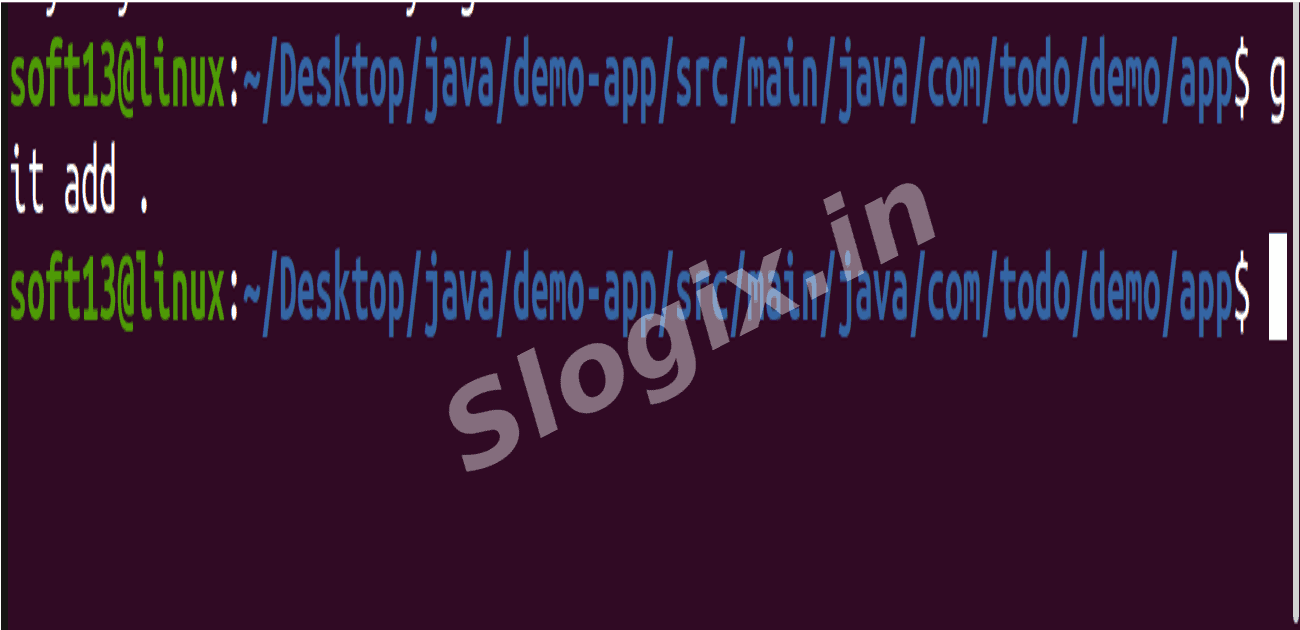
Step 8 — Add all Maven project files
Add selected files to Git:
git add .
Step 9 — Commit the code
Save the changes in Git:
git commit -m "Initial Maven project"
Step 10 — Ensure branch is main
Rename or create the main branch if needed:
git branch -M main
Step 11 — GitLab Access Token (Password Login Blocked)
GitLab requires Personal Access Token instead of password.
Go to:
GitLab → User Profile → Access Tokens → Create Token
Use this token while pushing.
Step 12 — Push the project to GitLab
Push all code into main branch:
git push -uf origin main
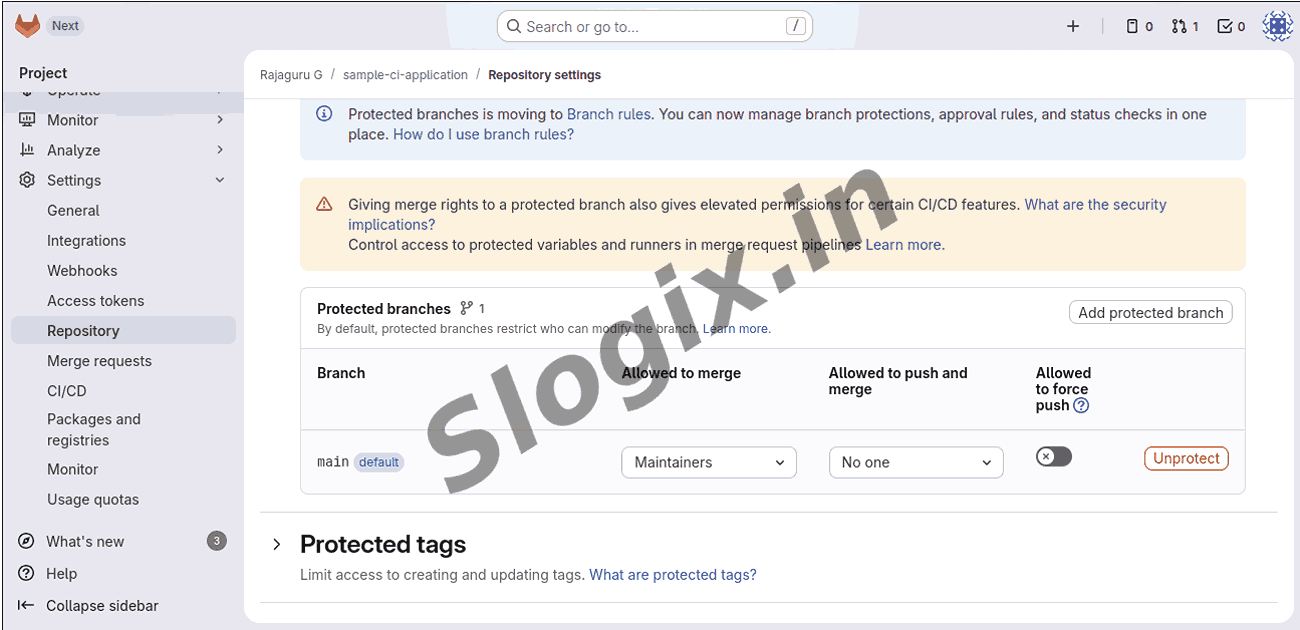
If Error Occurs: Cannot Push to main
GitLab sometimes protects main branch.
Fix:
GitLab → Settings → Repository → Protected Branches
→ Find main → Click Unprotect
✔ Now push again:
git push -uf origin main
Result
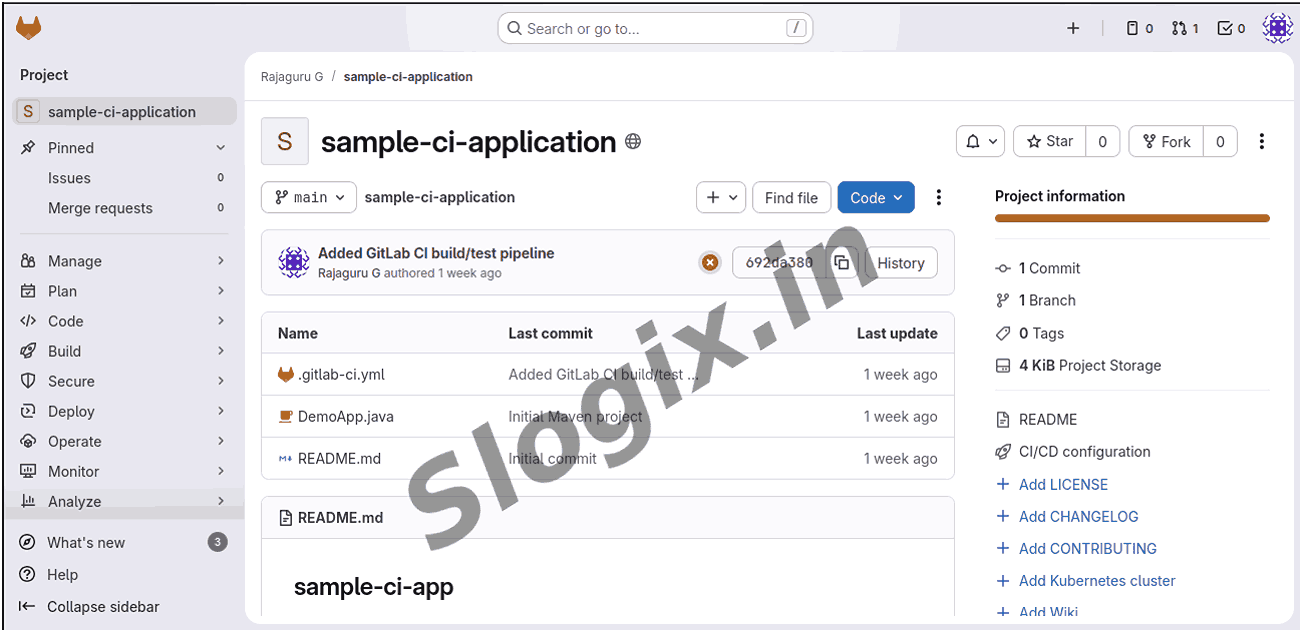
The Maven project is successfully created and uploaded to GitLab. Now GitLab can run CI/CD pipelines on your Maven project automatically and allow further development, testing, and deployment in DevOps workflows.
 Research Breakthrough Possible @S-Logix