Research Breakthrough Possible @S-Logix
Office Address
- 2nd Floor, #7a, High School Road, Secretariat Colony Ambattur, Chennai-600053 (Landmark: SRM School) Tamil Nadu, India
- pro@slogix.in
- +91-81240 01111


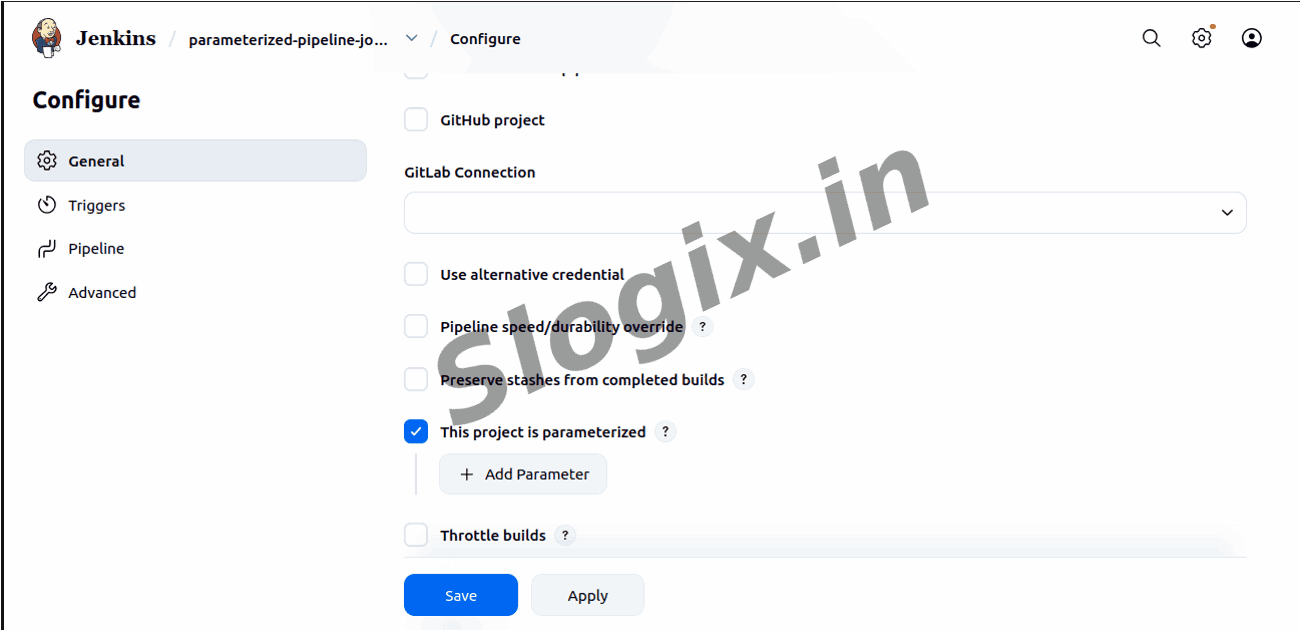
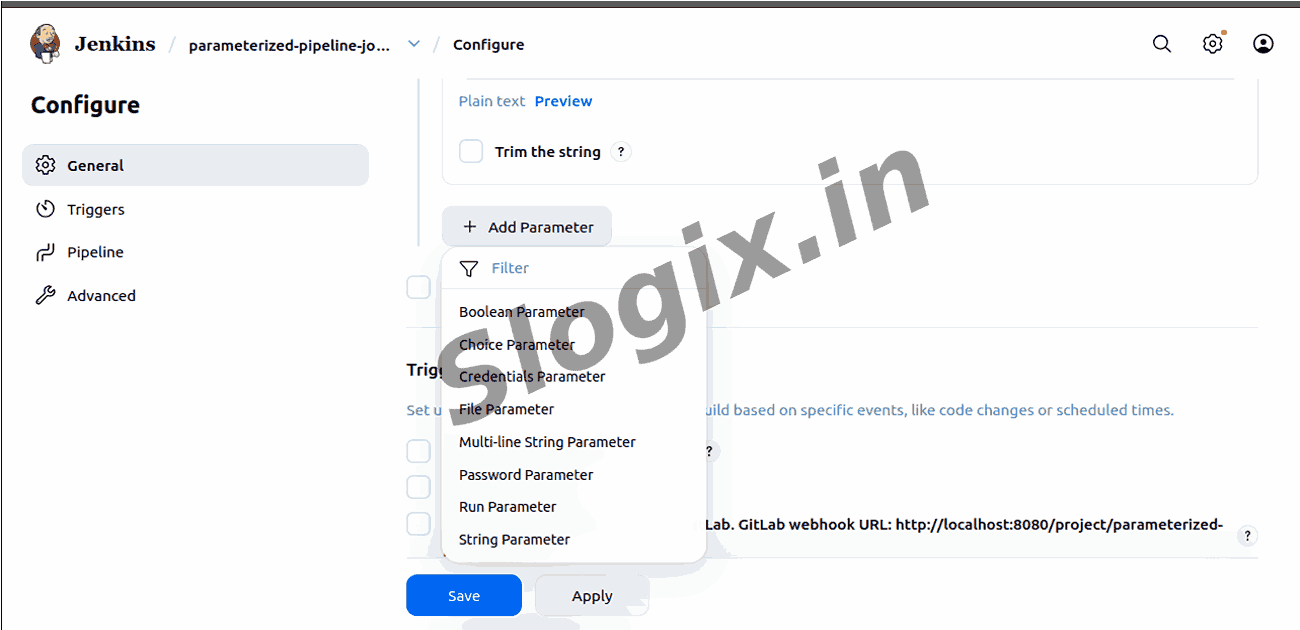
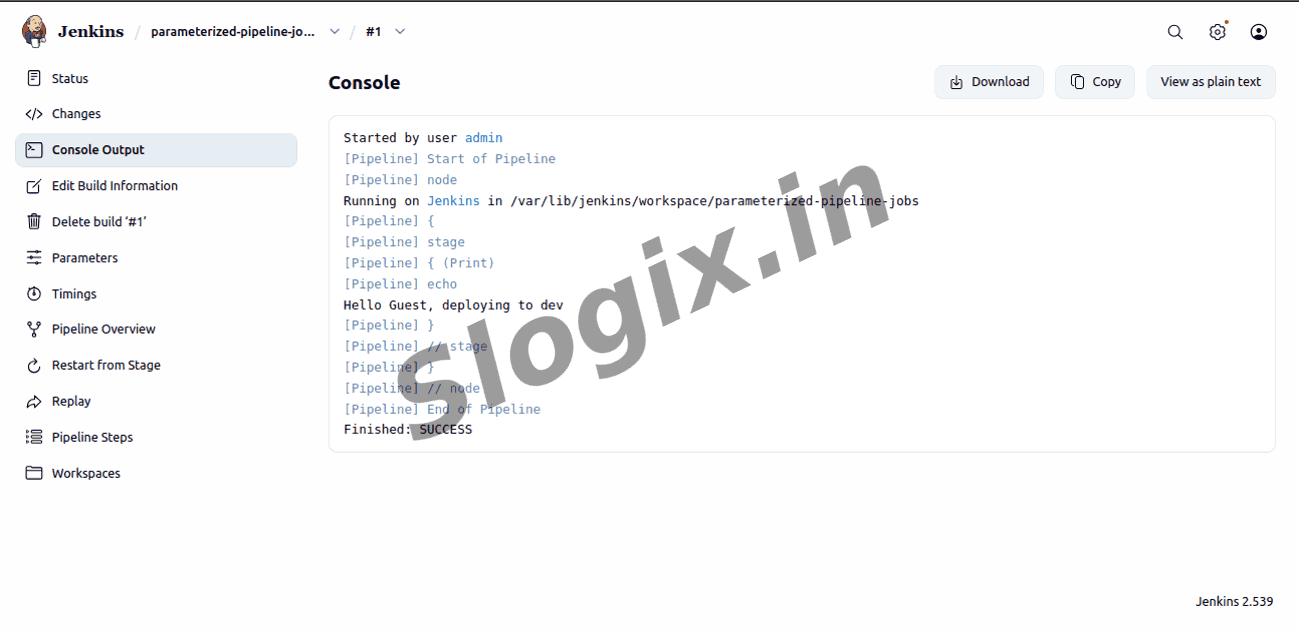
➡ HelloThis activity teaches how to use parameters in a Jenkins Pipeline to make builds dynamic and customizable., deploying to
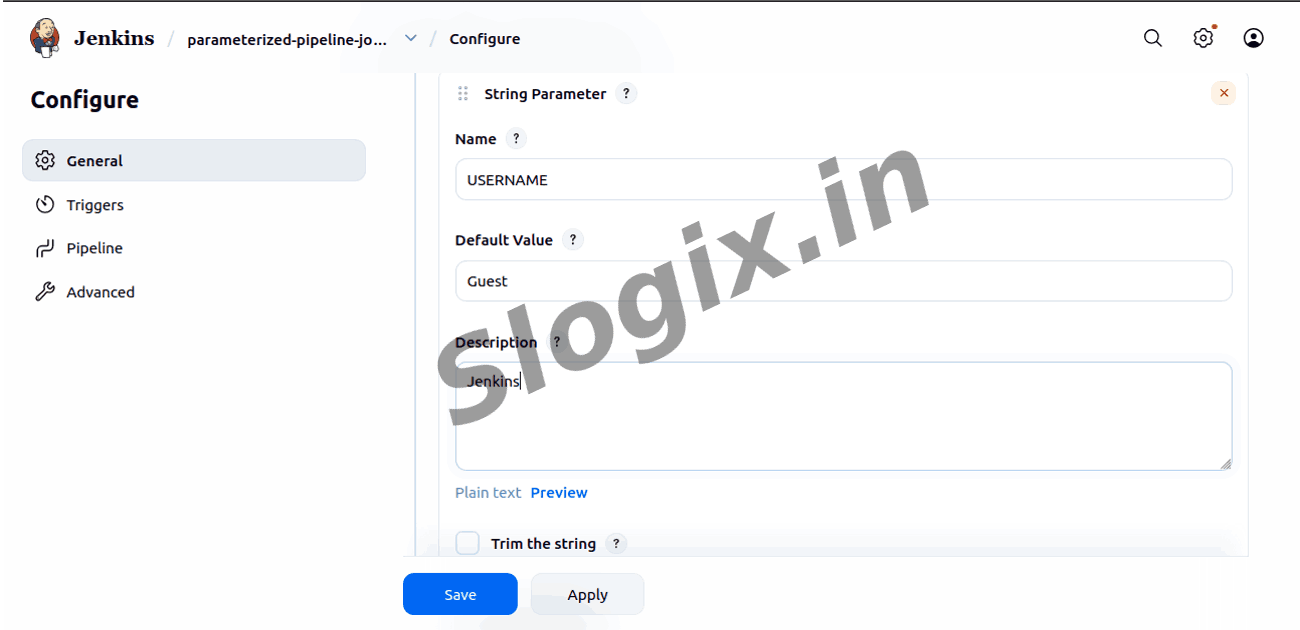
| Field | Value |
|---|---|
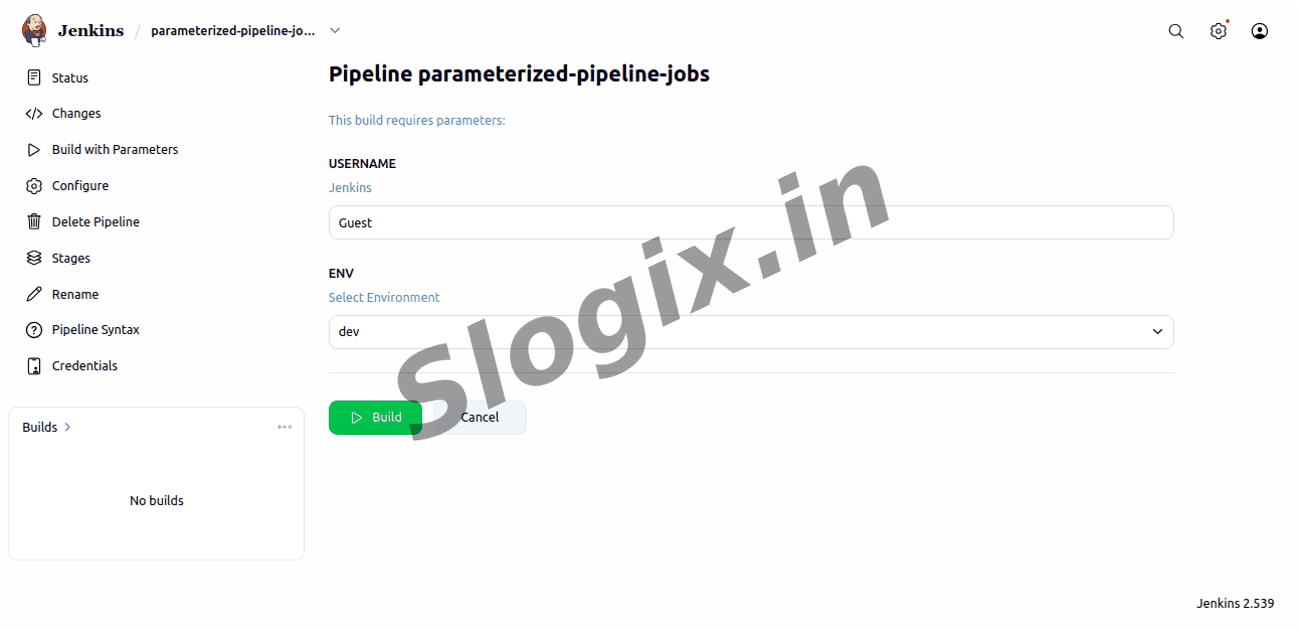
| Name | USERNAME |
| Default Value | Guest |
| Description | Enter your name |
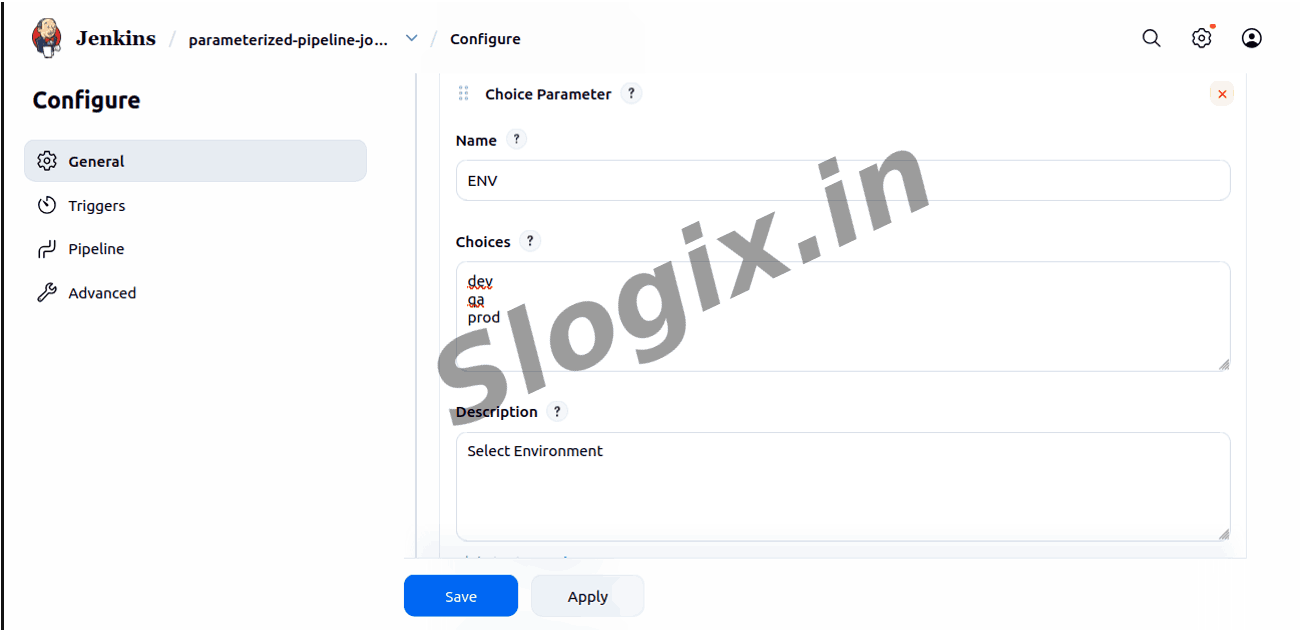
| Field | Value |
|---|---|
| Name | ENV |
| Choices | dev qa prod |
| Description | Select environment |
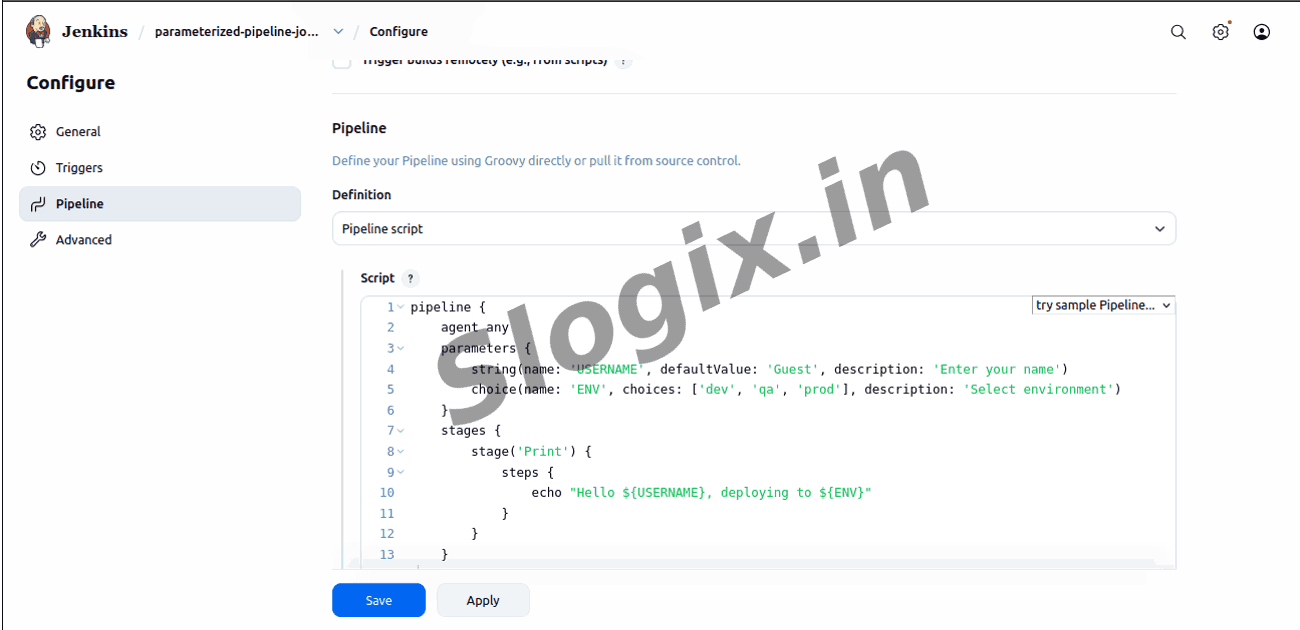
pipeline {
    agent any
    parameters {
        string(name: 'USERNAME', defaultValue: 'Guest', description: 'Enter your name')
        choice(name: 'ENV', choices: ['dev', 'qa', 'prod'], description: 'Select environment')
    }
    stages {
        stage('Print') {
            steps {
                echo "Hello ${USERNAME}, deploying to ${ENV}"
            }
        }
    }
}
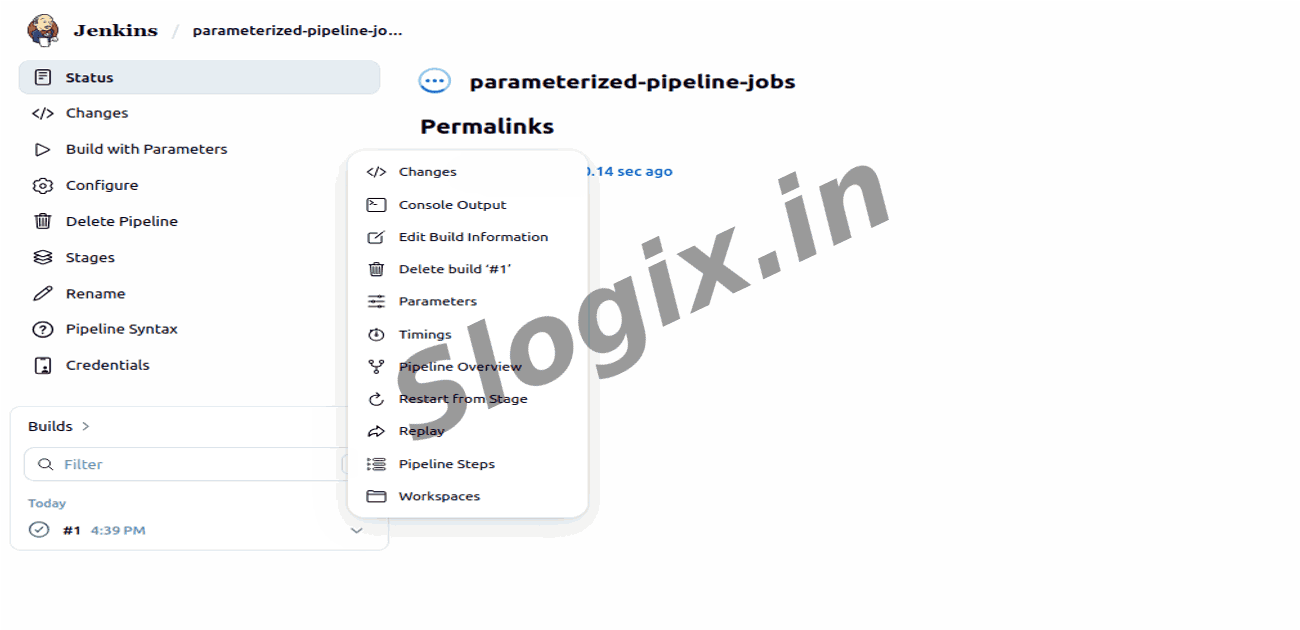
Hello Raj, deploying to dev