Research Breakthrough Possible @S-Logix
Office Address
- 2nd Floor, #7a, High School Road, Secretariat Colony Ambattur, Chennai-600053 (Landmark: SRM School) Tamil Nadu, India
- pro@slogix.in
- +91-81240 01111


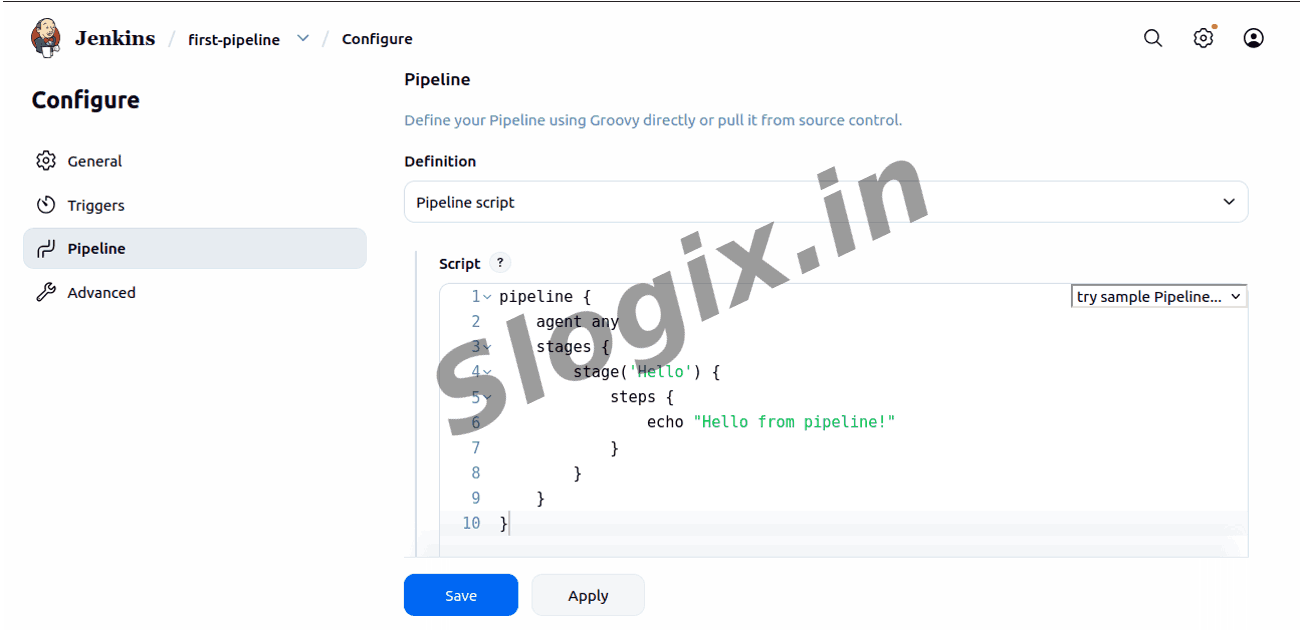
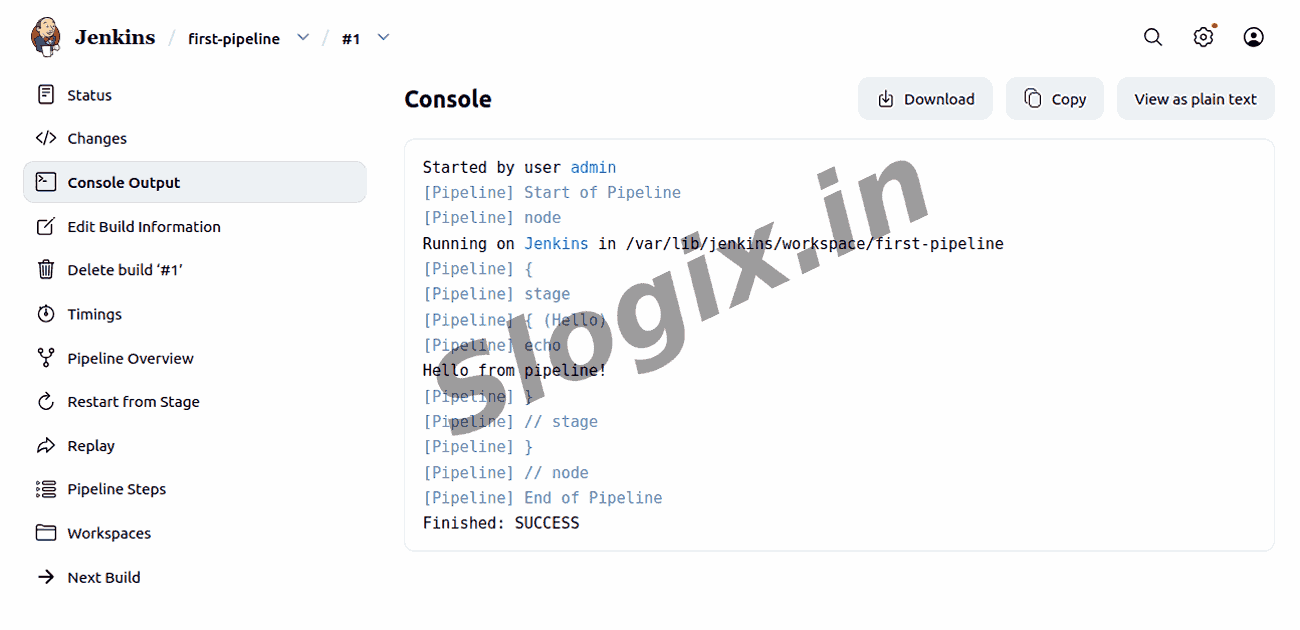
pipeline {
    agent any
    stages {
        stage('Hello') {
            steps {
                echo "Hello from pipeline!"
            }
        }
    }
}