-
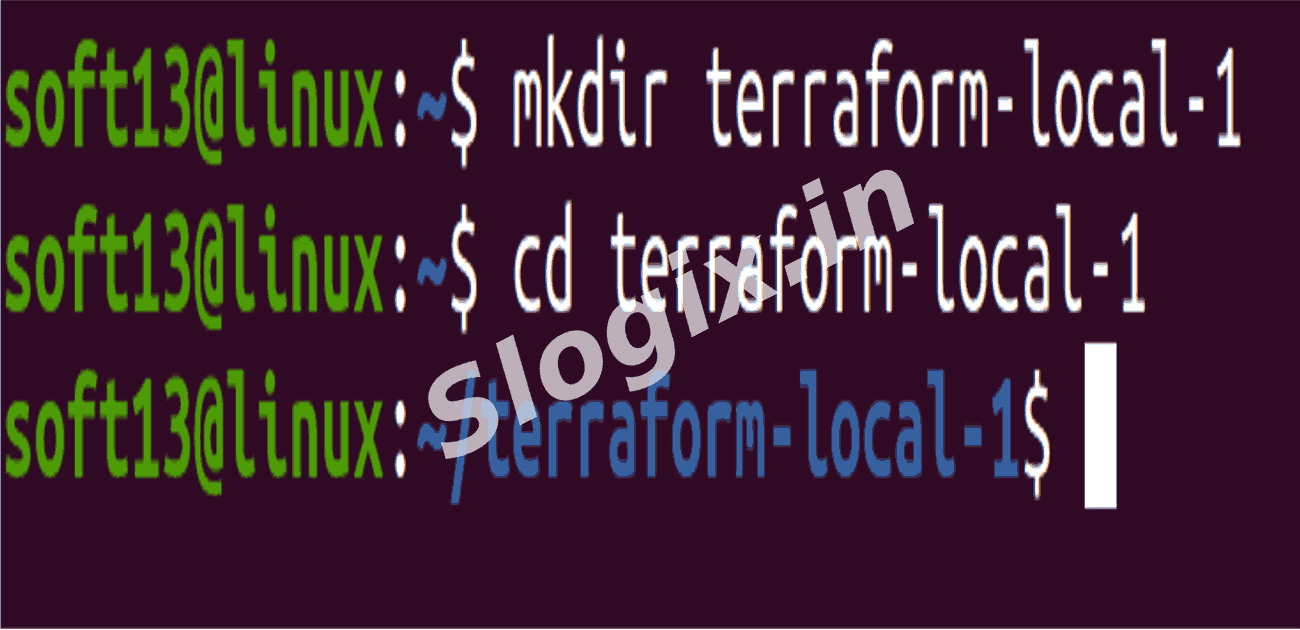
Step 1 — Create Project Directory
Create directory and move into it:
mkdir terraform-local-1
cd terraform-local-1
Explanation: Creates a dedicated directory for your Terraform project and navigates into it.
This directory will contain all Terraform configuration files.
-
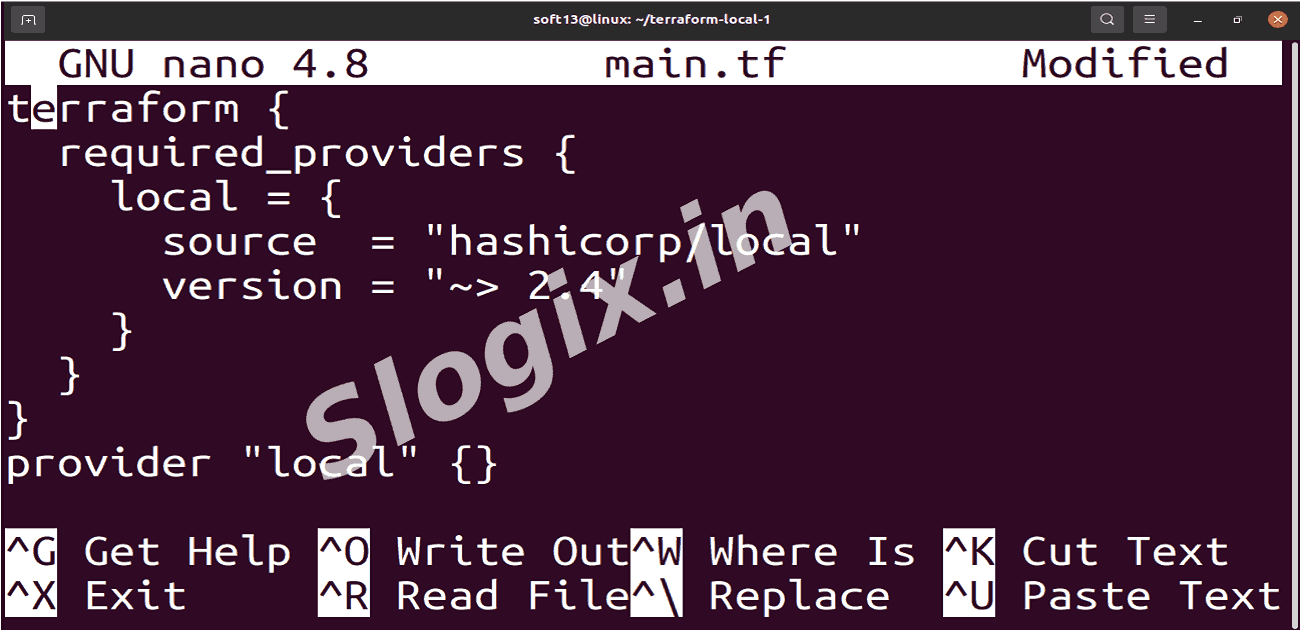
Step 2 — Create main.tf File
Create the file:
nano main.tf
Paste the following content:
terraform {
  required_providers {
    local = {
      source  = "hashicorp/local"
      version = "~> 2.4"
    }
  }
}

provider "local" {}
Explanation:
terraform { required_providers { ... } } specifies the provider Terraform will use (local in this case).
provider "local" {} initializes the local provider, allowing Terraform to manage local files, directories, or other resources.
Save the file (Ctrl+O, Enter, Ctrl+X in nano).
-
Step 3 — Initialize Terraform
Initialize Terraform:
terraform init
What happens:
Terraform downloads the local provider plugin.
Initializes the backend (default is local).
Prepares your working directory for Terraform commands.
Expected Output:
Initializing the backend...
Initializing provider plugins...
Terraform has been successfully initialized!
-
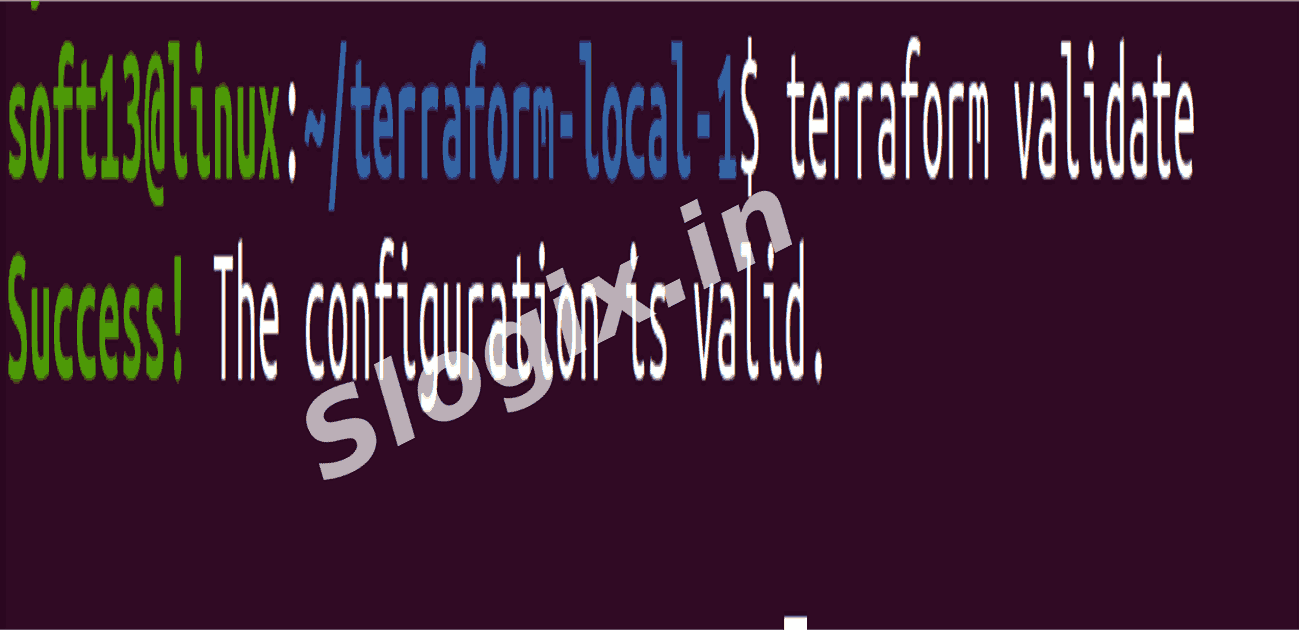
Step 4 — Validate the Configuration
Validate configuration:
terraform validate
Explanation:
Checks your Terraform files for syntax errors.
Ensures that the configuration is valid before applying any changes.
Expected Output:
Success! The configuration is valid.
-
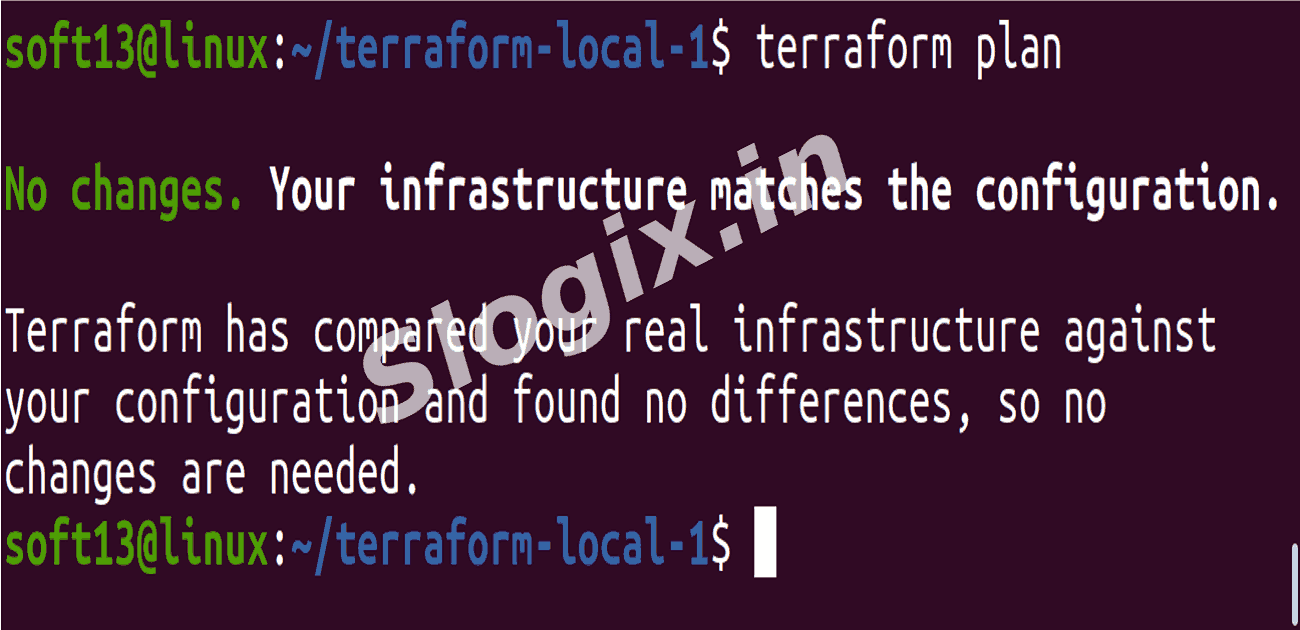
Step 5 — Plan (Optional)
Run Terraform plan:
terraform plan
Explanation:
Previews the changes Terraform would make based on your configuration.
Since no resources are defined yet, it should show:
No changes. Infrastructure is up-to-date.
 Research Breakthrough Possible @S-Logix