List of Topics:
Location Research Breakthrough Possible @S-Logix pro@slogix.in

Office Address

Social List

How to Install, Register, Configure, and Run a Self-Hosted GitLab Runner, and Execute a Pipeline Using It?

GitLab

Condition for Install, Register, Configure, and Run a Self-Hosted GitLab Runner, and Execute a Pipeline Using It

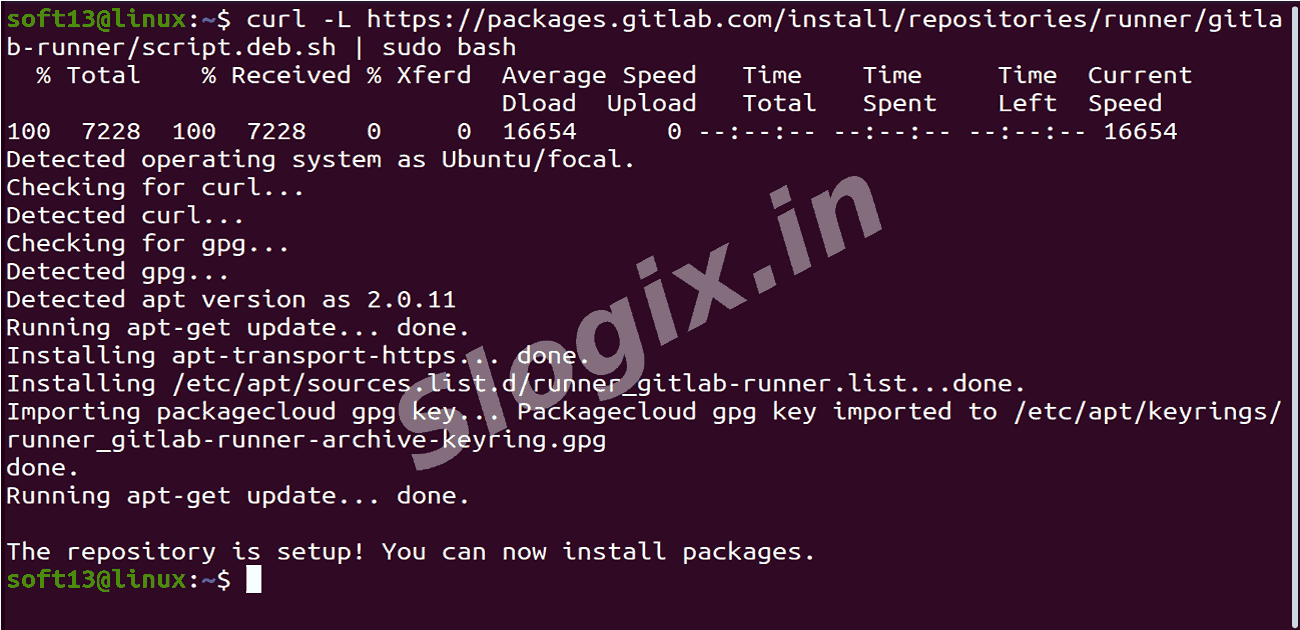
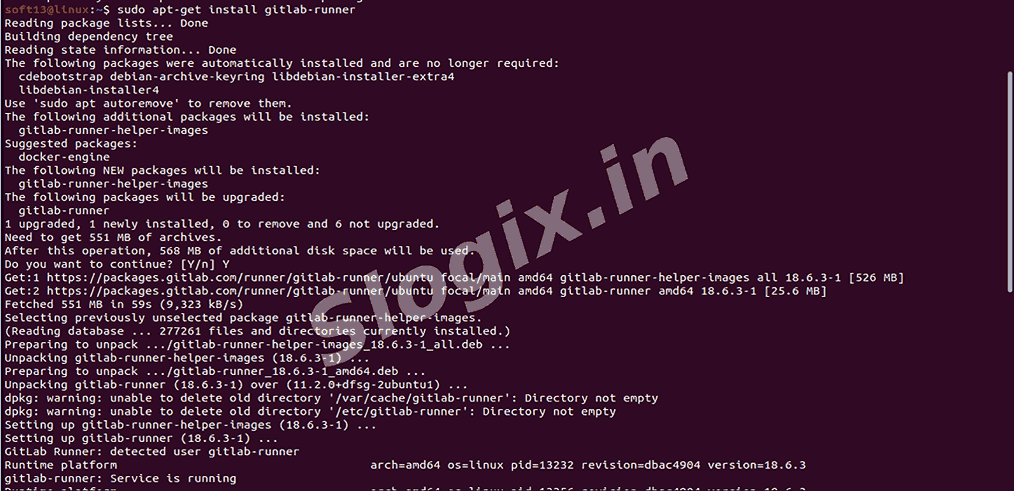
  • Description:
    A self-hosted GitLab Runner allows you to execute CI/CD pipelines on your own local system or server instead of using GitLab’s shared runners. This gives more control, better speed, custom environment support (Java, Python, Docker, etc.), and avoids waiting in pipeline queues. Below are the complete steps to install, register, configure, and test your own GitLab Runner on Ubuntu.

Steps

  •  Step 1 — Add the GitLab Runner Repository
     First, add GitLab’s official runner installation script:
     curl -L https://packages.gitlab.com/install/repositories/runner/gitlab-runner/script.deb.sh | sudo bash

     This updates your system to recognize GitLab Runner packages.
  •  Step 2 — Install GitLab Runner
     Run:
     sudo apt-get install gitlab-runner

     Verify installation:
     gitlab-runner --version

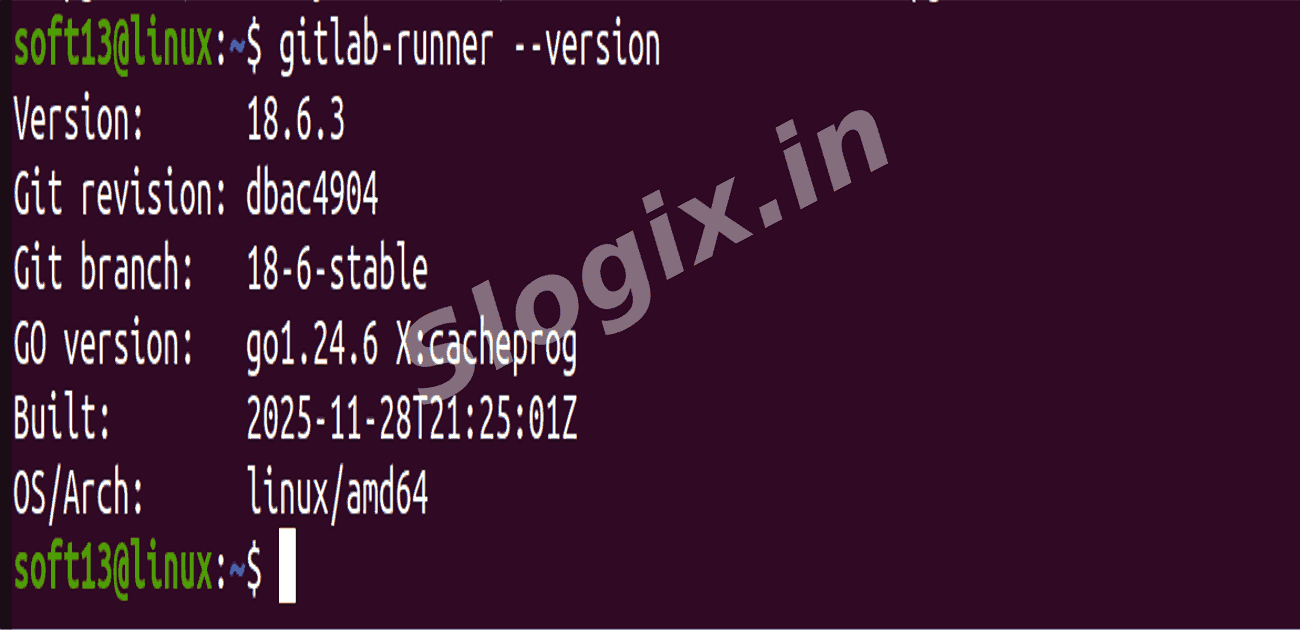
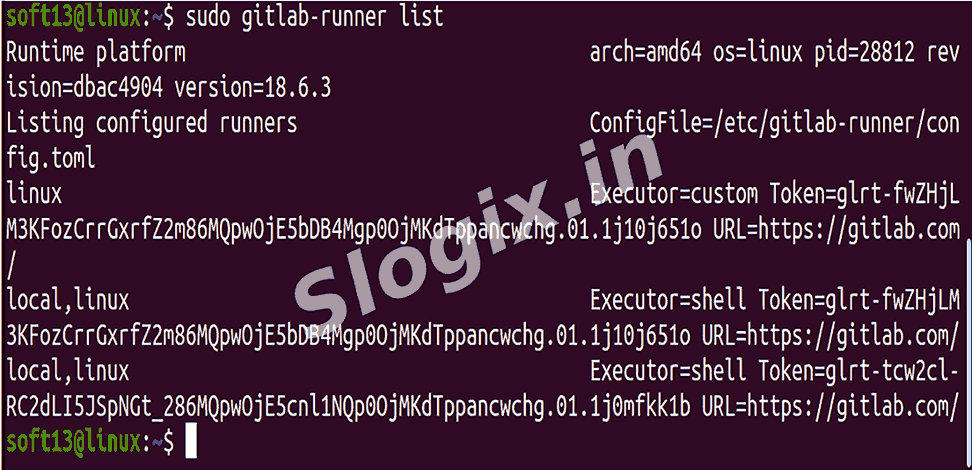
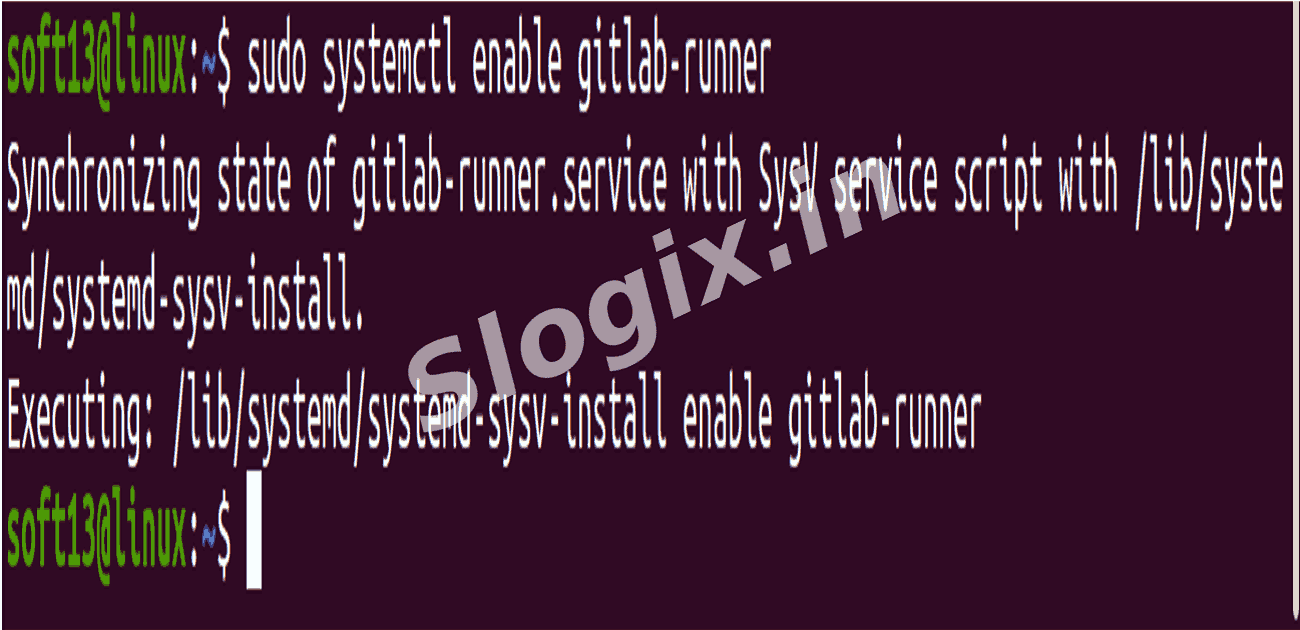
     This confirms the runner is available on your system.
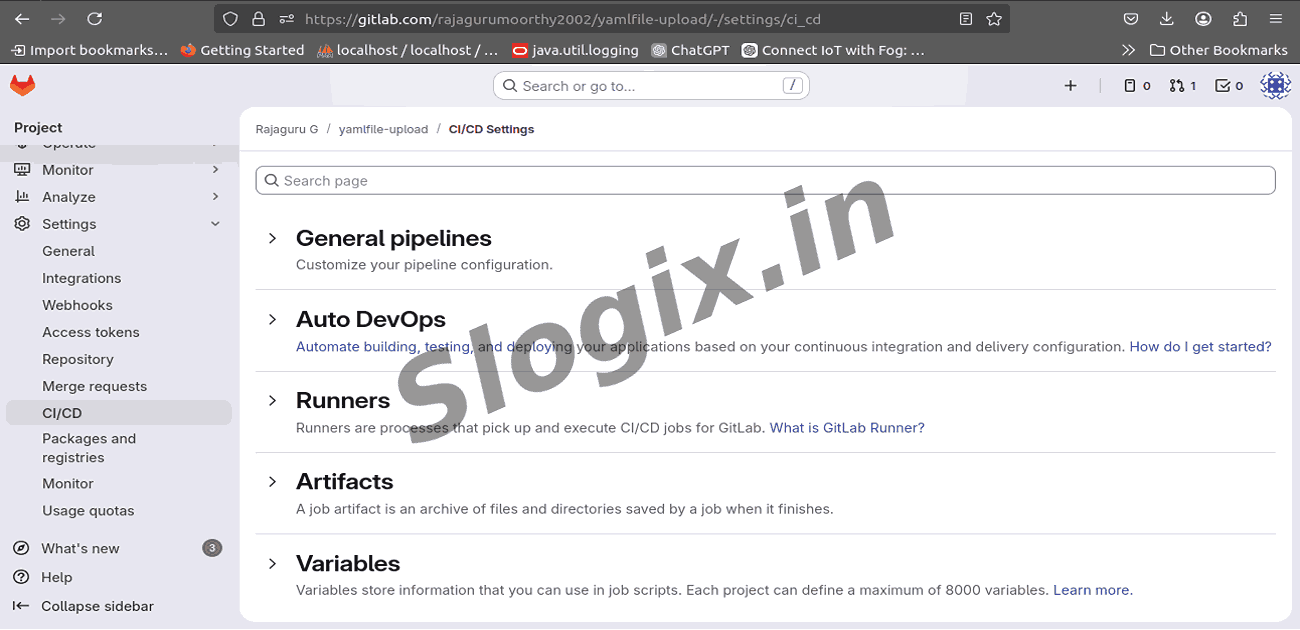
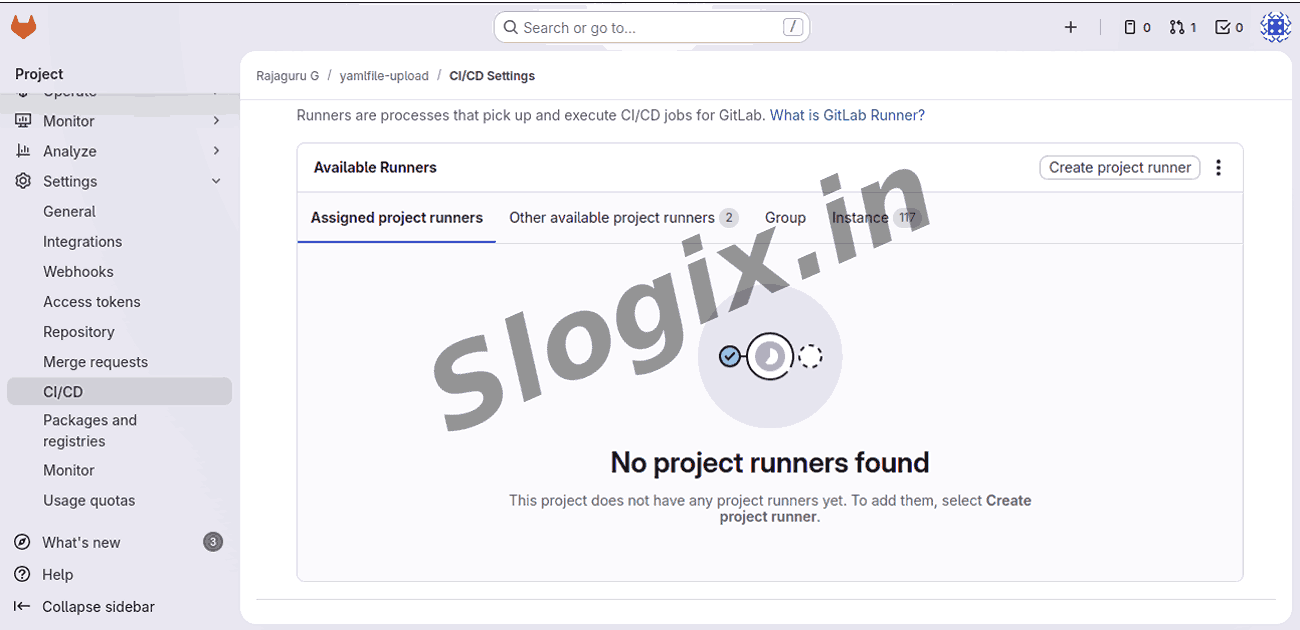
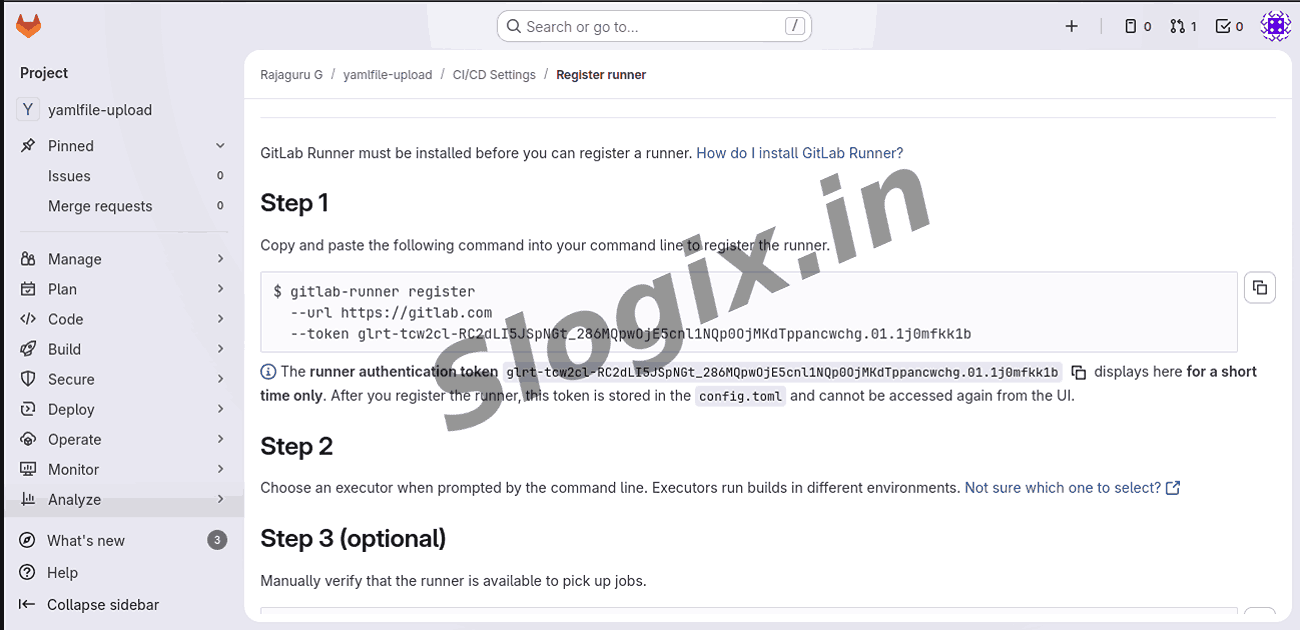
  •  Step 3 — Get a Runner Registration Token
     Go to:
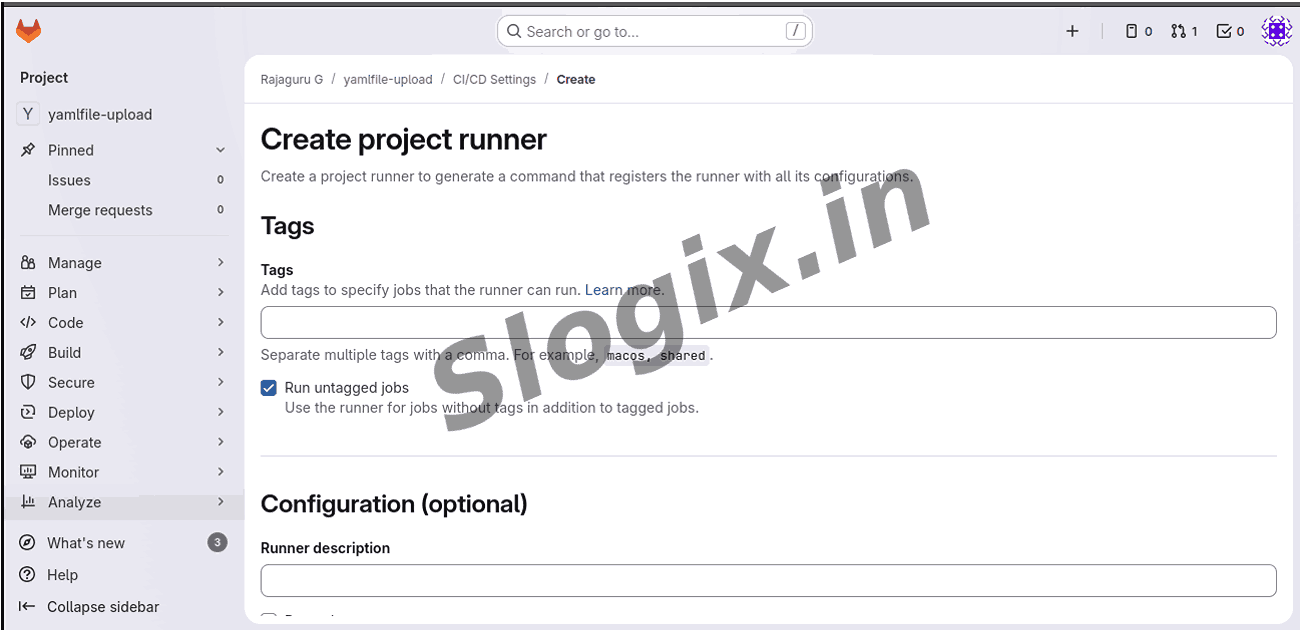
     GitLab → Your Project → Settings → CI/CD → Expand Runners → Click Create Project Runner
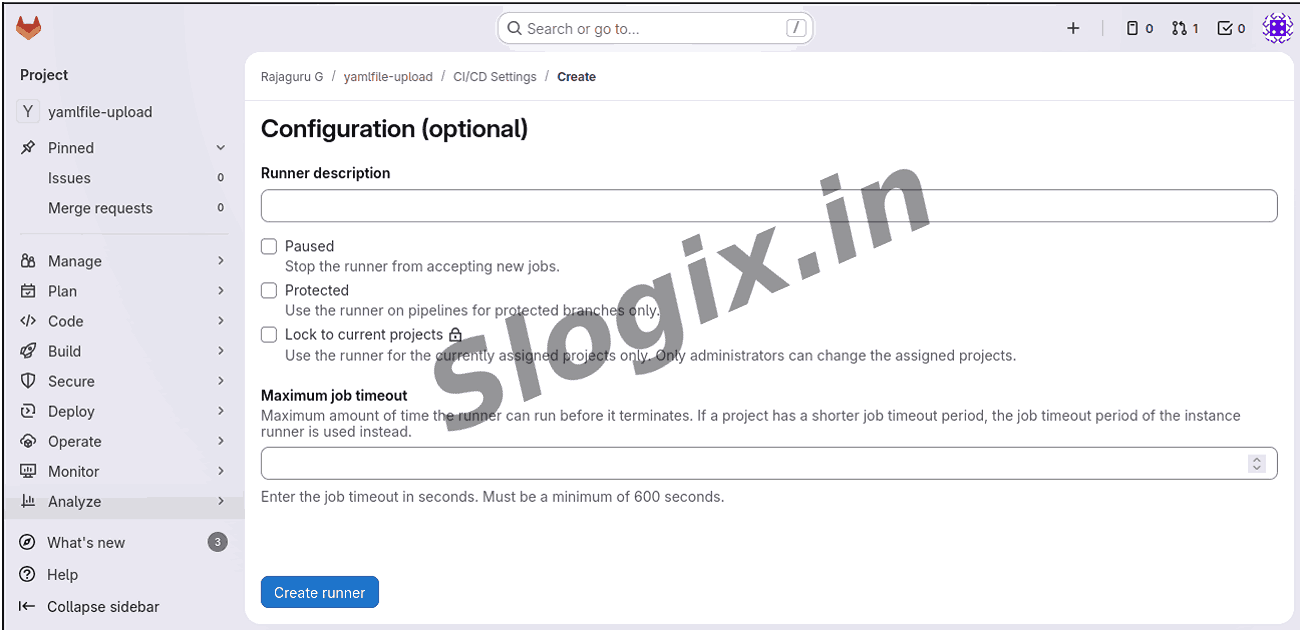
     Enable Run untagged jobs, then click Create.
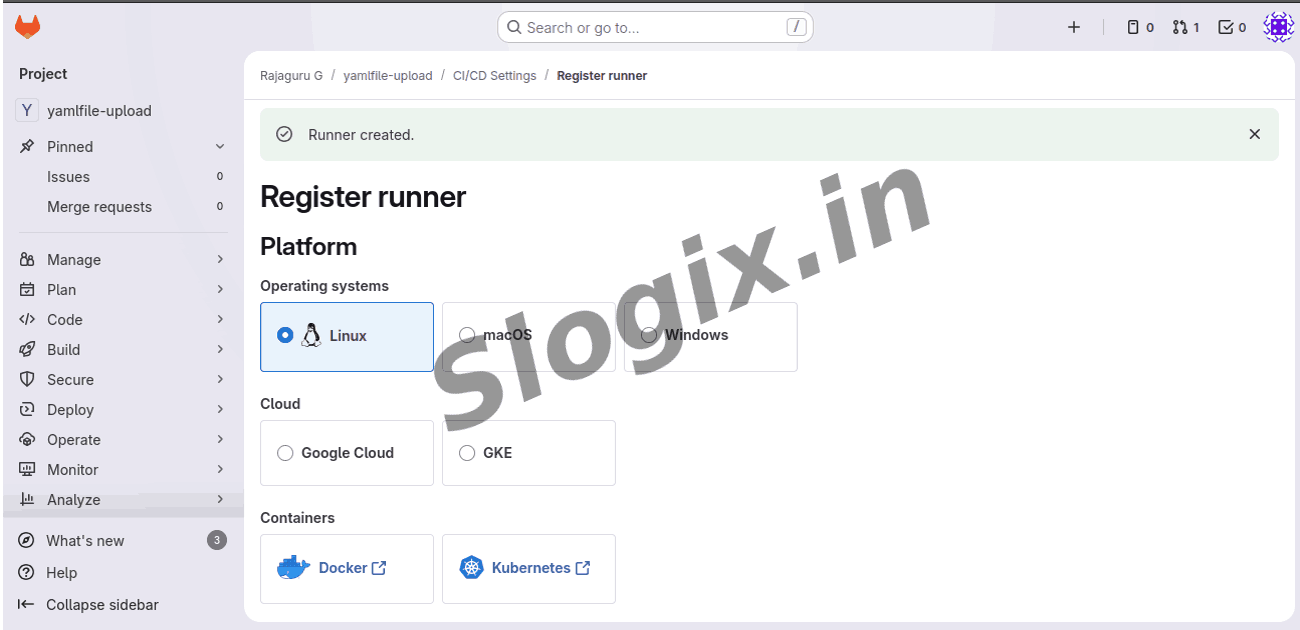
     Copy the Registration Token.

     This token is required to link your machine to GitLab.
  •  Step 4 — Register the GitLab Runner
     Run:
     sudo gitlab-runner register

     When asked:
    Prompt Input
    GitLab URL https://gitlab.com/
    Registration Token paste the token
    Runner Description my-local-runner
    Runner Tags local,linux
    Executor shell
     Selecting executor=shell means your local shell will run the pipeline commands.

     Check registered runners:
     sudo gitlab-runner list
  •  Step 5 — Start and Enable the Runner Service
     Start service manually:
     sudo gitlab-runner start

     Enable auto-start on boot:
     sudo systemctl enable gitlab-runner
  •  Step 6 — Modify .gitlab-ci.yml to Use Your Runner
     Add the tags from registration (local) to your jobs:

     stages:
      - build
      - test

     build-job:
      stage: build
      tags:
       - local
      script:
       - echo "Building using my custom runner"
       - echo "Build completed."

     test-job:
      stage: test
      tags:
       - local
      script:
       - echo "Running tests on my runner"

     This ensures GitLab assigns pipeline jobs to your self-hosted runner.
  •  Step 7 — Push Code to Trigger Pipeline
     git add .
     git commit -m "Testing self-hosted runner"
     git push

     Go to:
     GitLab → CI/CD → Pipelines
     You will see pipeline jobs running with your own runner.
  •  Step 8 — Verify Runner Execution Logs
     On your system:
     sudo journalctl -u gitlab-runner -f

     This shows all job execution logs live from your machine.
  •  Result
     GitLab Runner installed
     Registered and linked to your project
     CI/CD jobs running on your machine
     Pipeline executes using your environment
Screenshots
  • 67
  • 68
  • 69
  • 70
  • 71
  • 72
  • 73
  • 74
  • 75
  • 76
  • 77
  • 78
  • 79
  • 80
  • 81
  • 82
  • 83
  • 84