How to Upload a .gitlab-ci.yml File to GitLab and Run a CI Pipeline with Build and Test Stages?
Share
Condition for Upload a .gitlab-ci.yml File to GitLab and Run a CI Pipeline with Build and Test Stages
Description: This task explains how to create a CI pipeline YAML file, push it to GitLab, resolve protection issues, and verify successful execution of both stages: Build and Test.
Steps
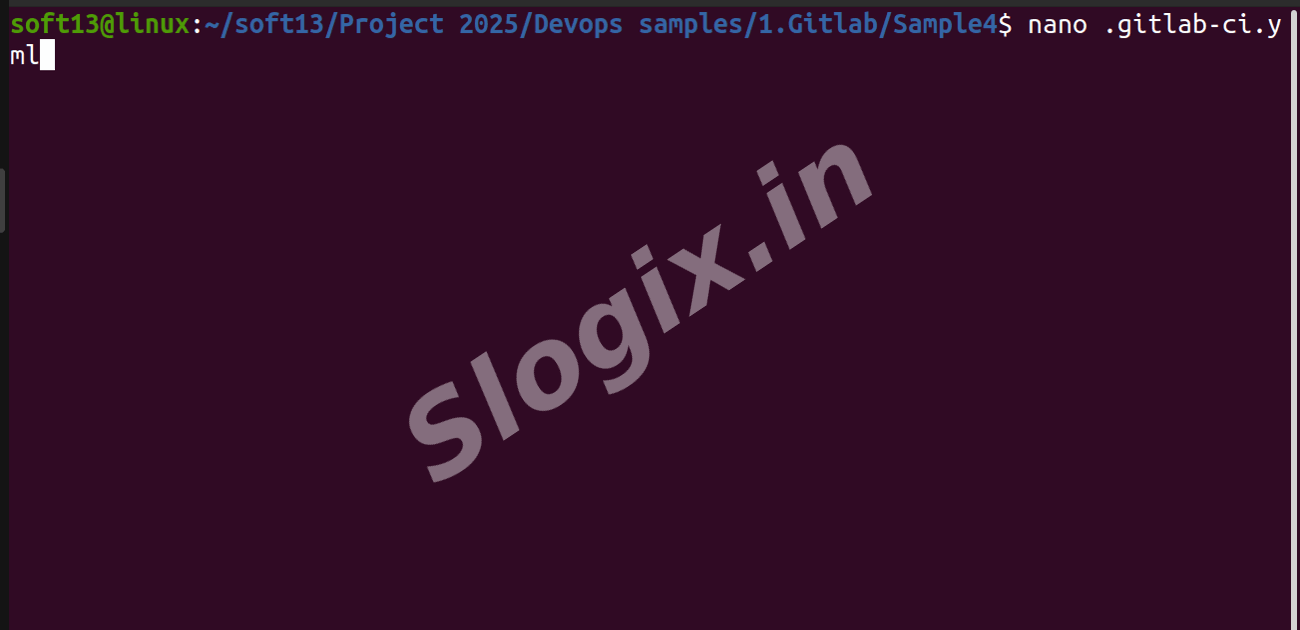
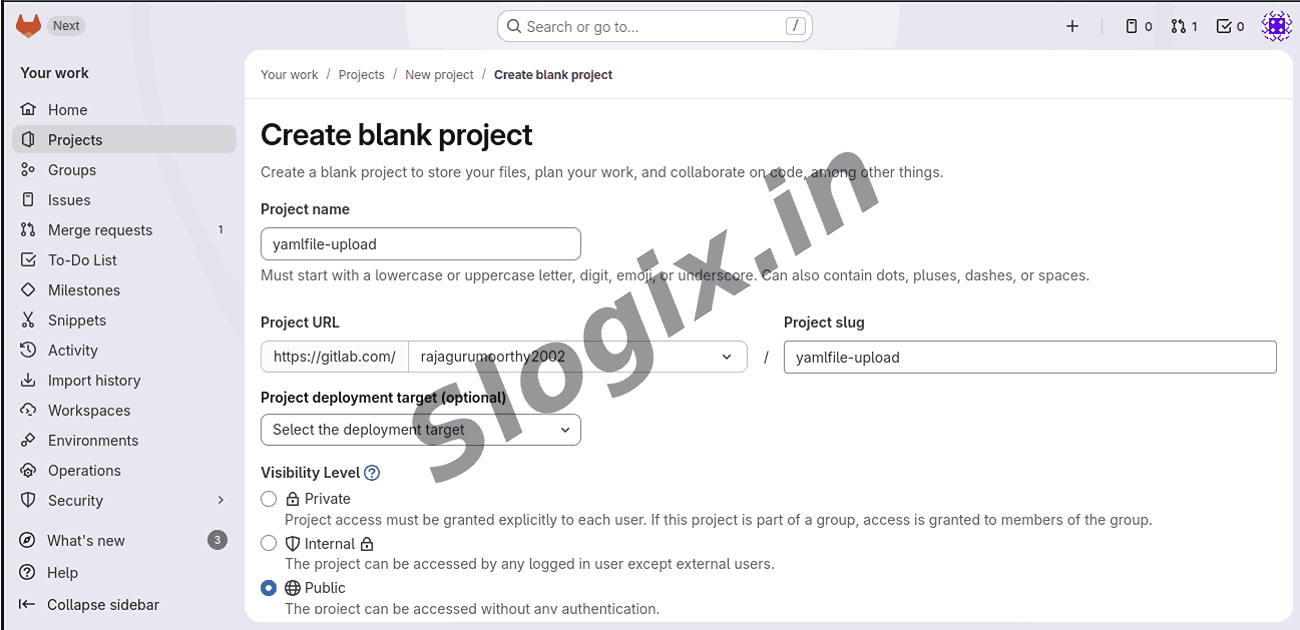
Step 1 — Create the .gitlab-ci.yml file
Open a terminal in your project folder and create the CI file:
nano .gitlab-ci.yml
Paste your pipeline code (the stages and jobs), save and exit. This file tells GitLab what jobs to run.
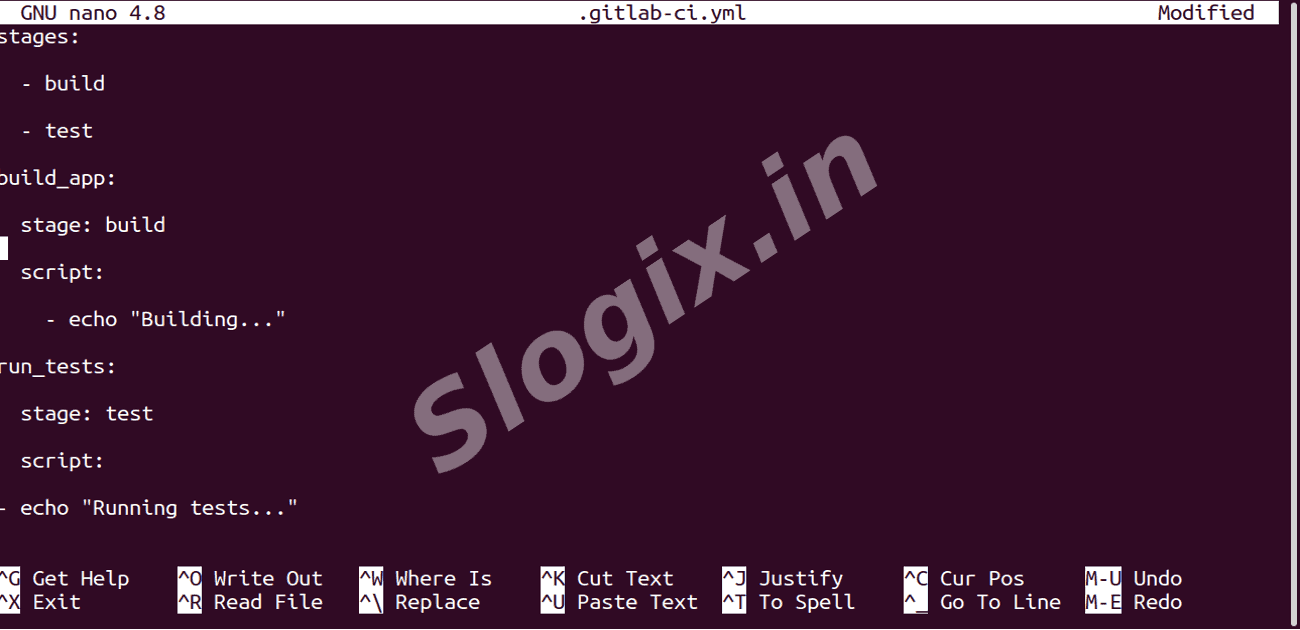
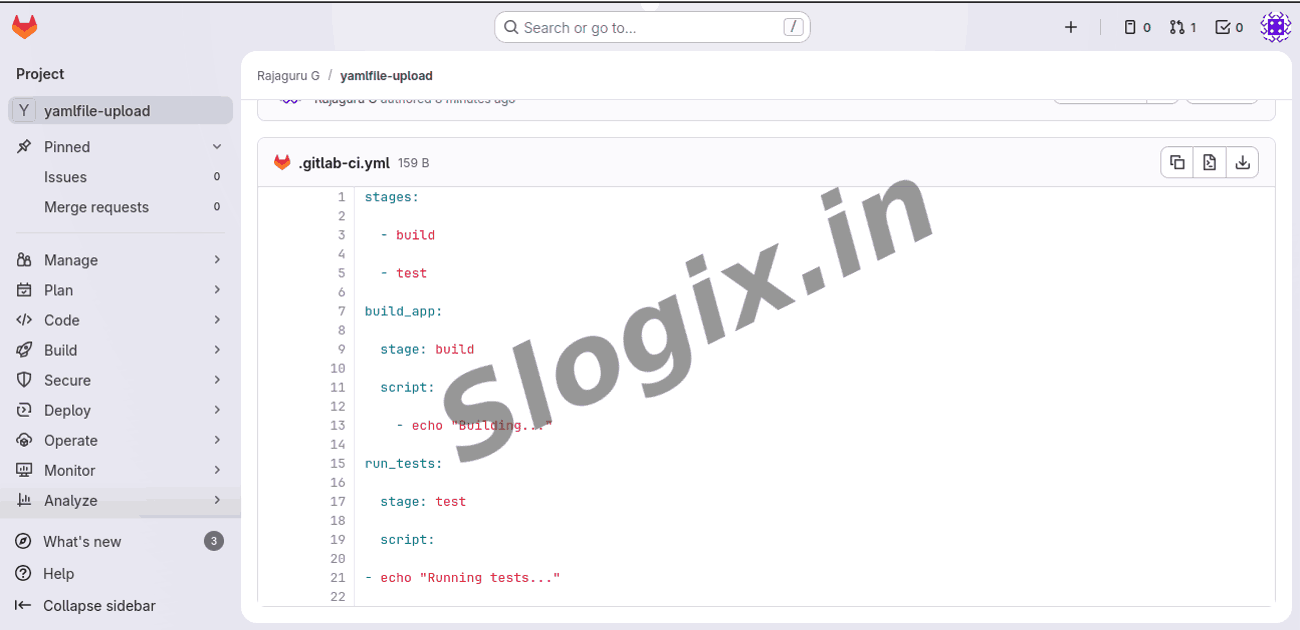
Step 2 — Write the pipeline YAML content
Inside .gitlab-ci.yml add the jobs and stages, for example:
run_tests:
stage: test
script:
- echo "Running tests..."
This defines two stages (build, test) and one job in each stage.
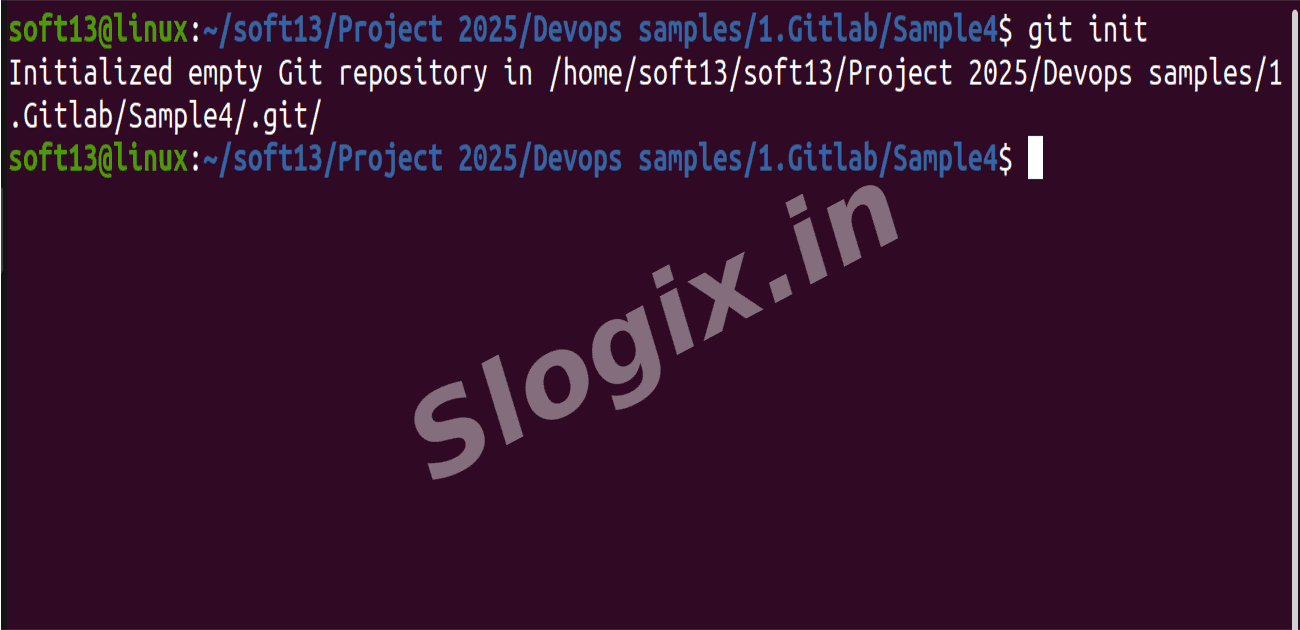
Step 3 — Initialize a Git repository locally
If you haven’t already initialized Git in this folder, run:
git init
This turns the folder into a local Git repository so you can commit and push.
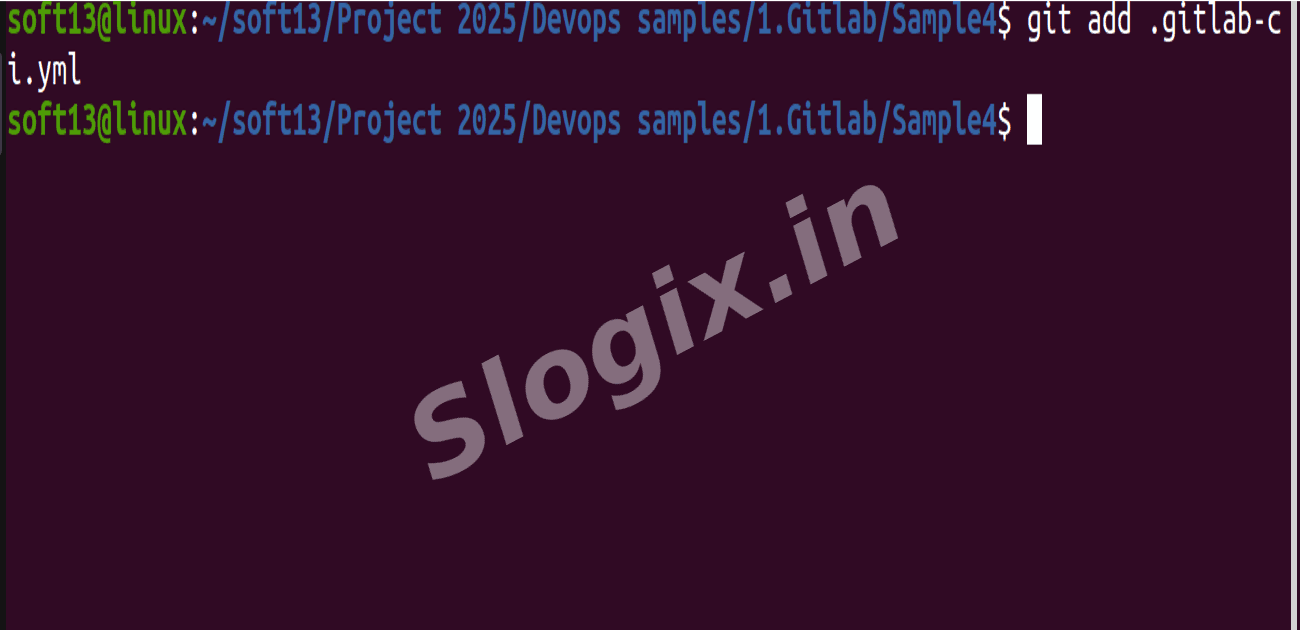
Step 4 — Stage the YAML file
Tell Git to track the new CI file:
git add .gitlab-ci.yml
You can add other files the same way (e.g., git add . to add everything).
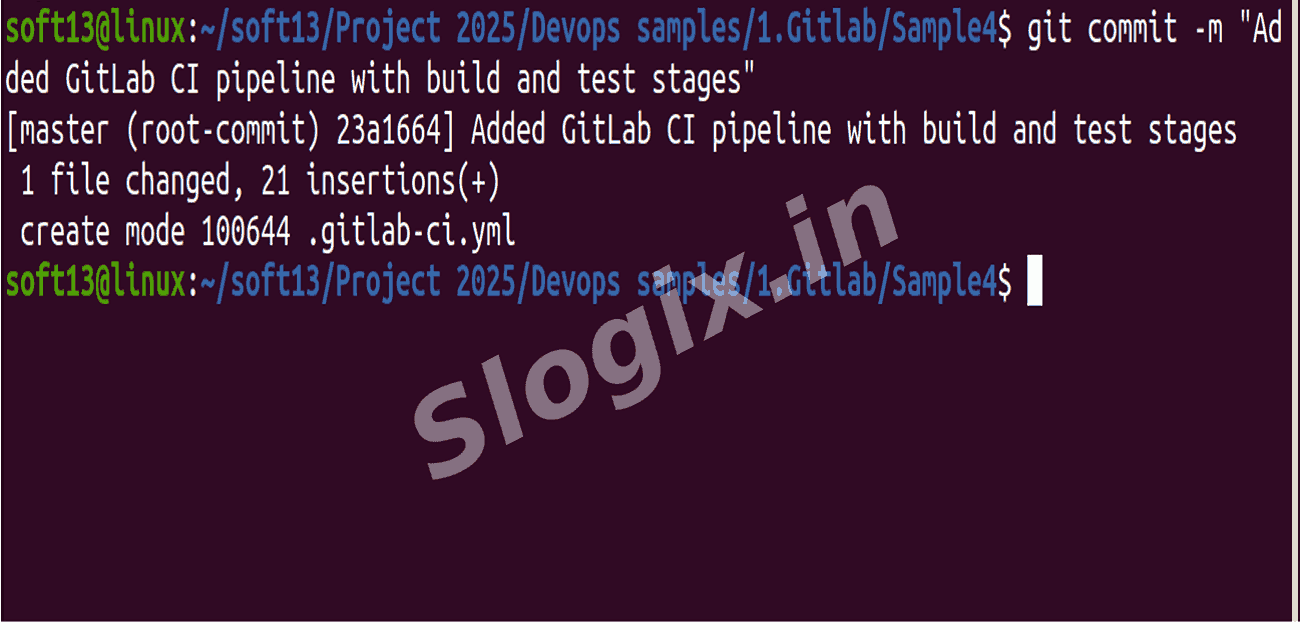
Step 5 — Commit the change
Save the staged file(s) to your local commit history:
git commit -m "Added GitLab CI pipeline with build and test stages"
If git says “nothing to commit,” ensure files were added in step 4.
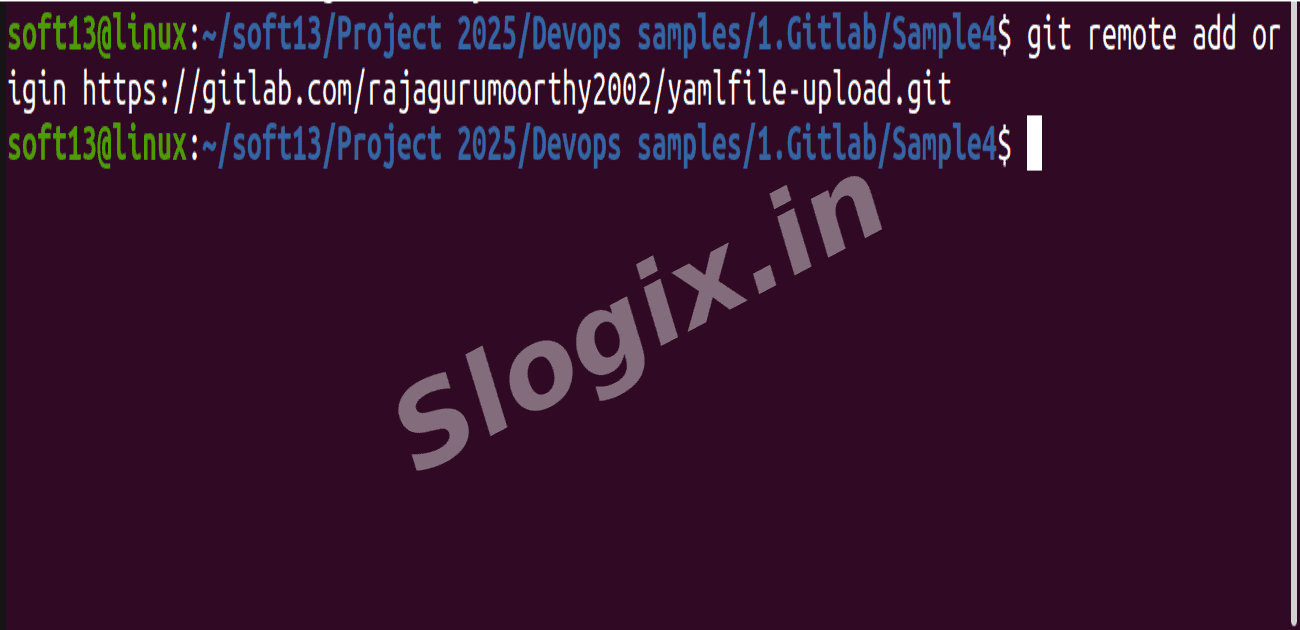
Step 6 — Add the GitLab remote URL
Connect your local repo to the GitLab project URL:
git remote add origin https://gitlab.com/USERNAME/REPO.git
Replace USERNAME/REPO.git with your actual GitLab path. If a remote already exists, run git remote remove origin first.
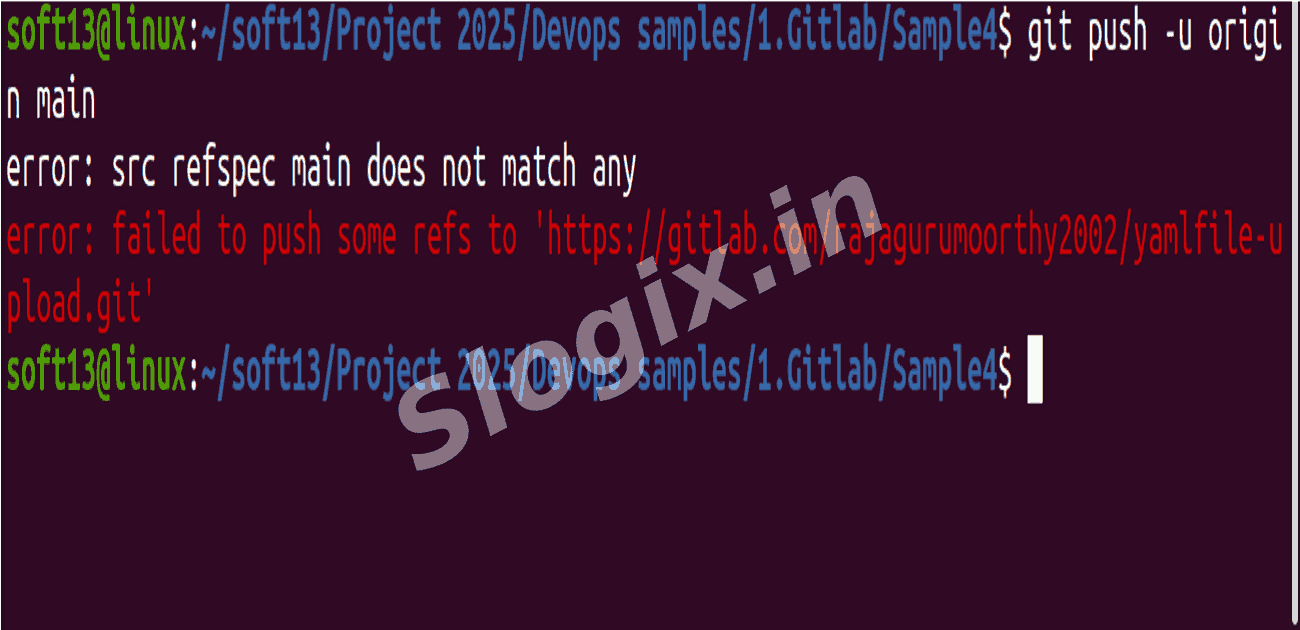
Step 7 — Push to the remote (first attempt)
Try to push your branch to GitLab:
git push -u origin main
If your local branch is named master, rename it first (git branch -M main) or push master if remote expects master.
Step 8 — If push is rejected due to branch protection or remote commits
If GitLab rejects the push because the remote has commits you don’t have, it will hint “fetch first” or “non-fast-forward.” Don’t force push yet — instead sync with the remote (next step).
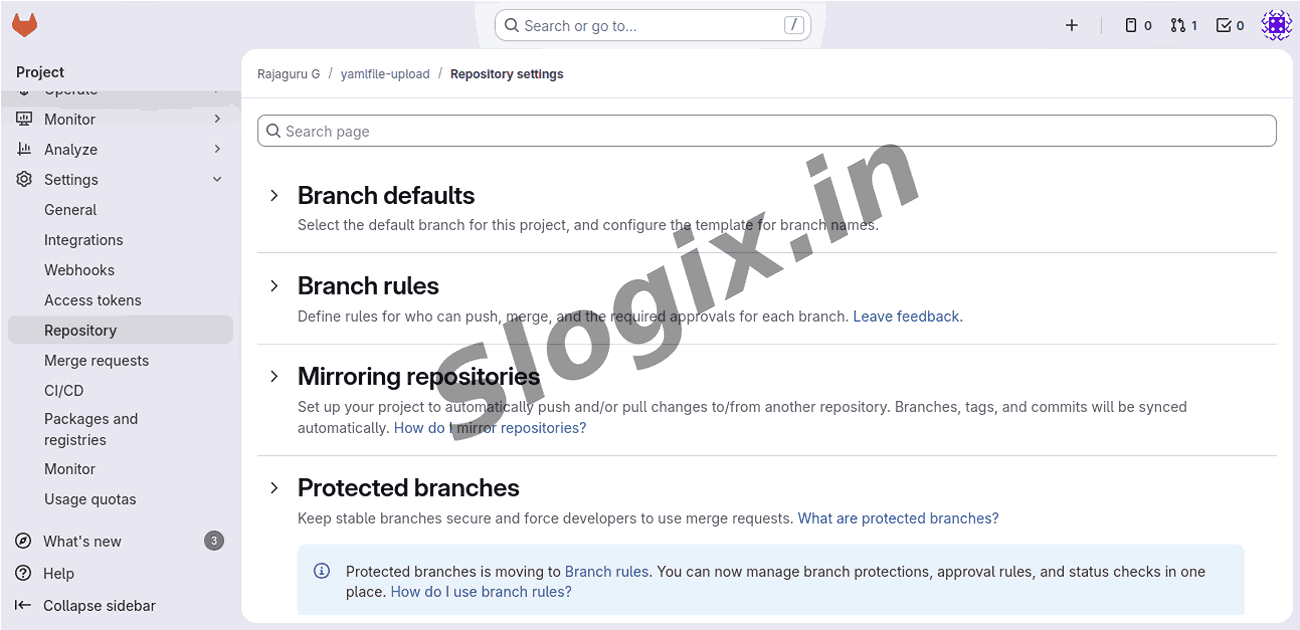
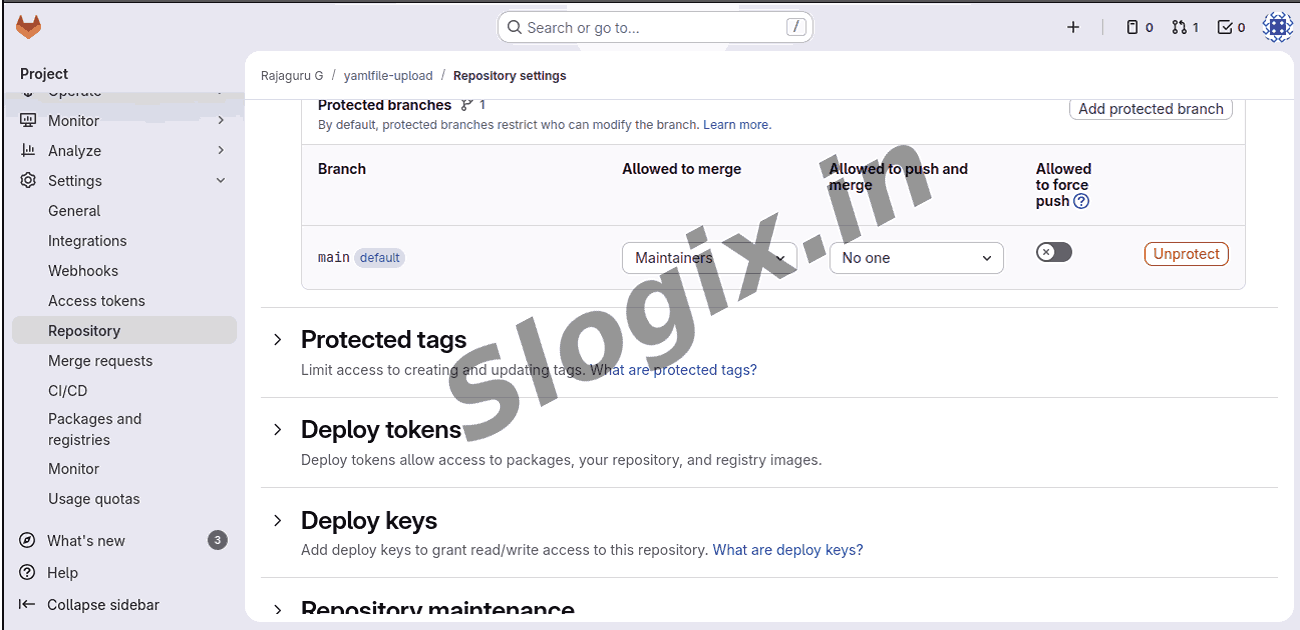
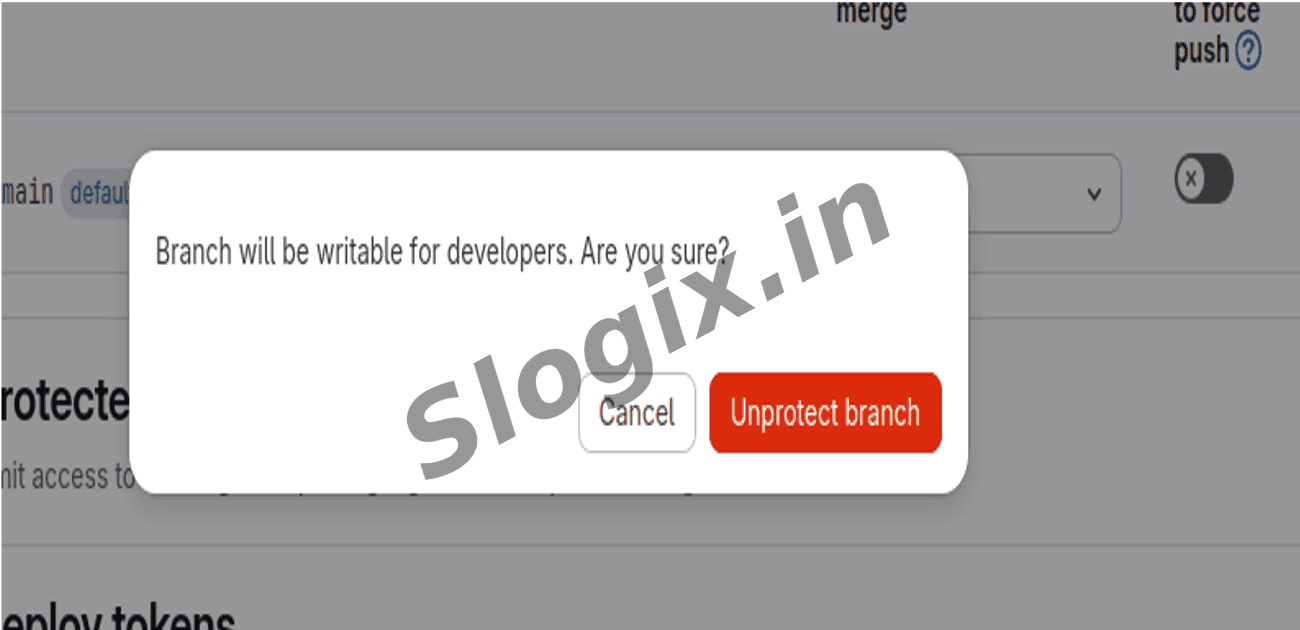
If the project protects main and prevents pushes, unprotect it in GitLab (Settings → Repository → Protected Branches) or ask a maintainer to grant push rights.
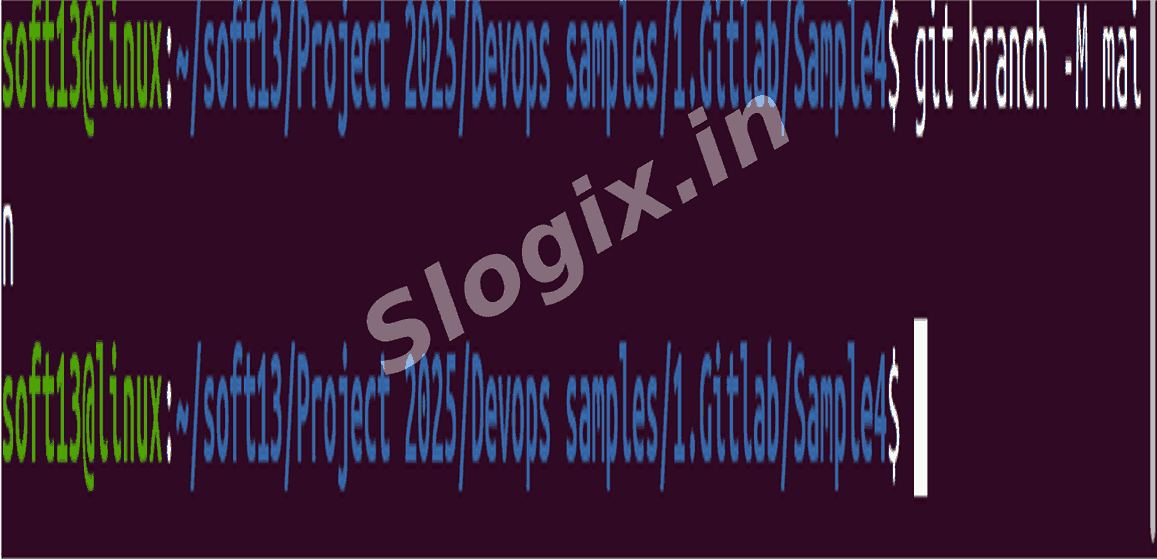
Step 9 — Rename your local branch to main (if needed)
Ensure your local branch name matches the remote default:
git branch -M main
This renames the current branch to main.
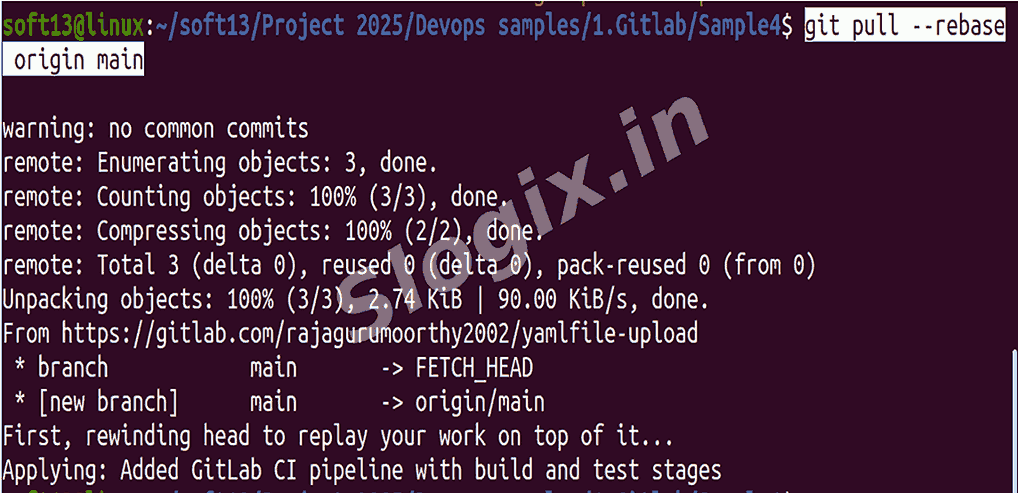
Step 10 — Pull and rebase remote changes (resolve divergence)
Fetch and replay your commits on top of remote history:
git pull --rebase origin main
If a rebase is already in progress, finish or abort it first using git rebase --continue or git rebase --abort.
Resolve any conflicts, git add the resolved files, then git rebase --continue.
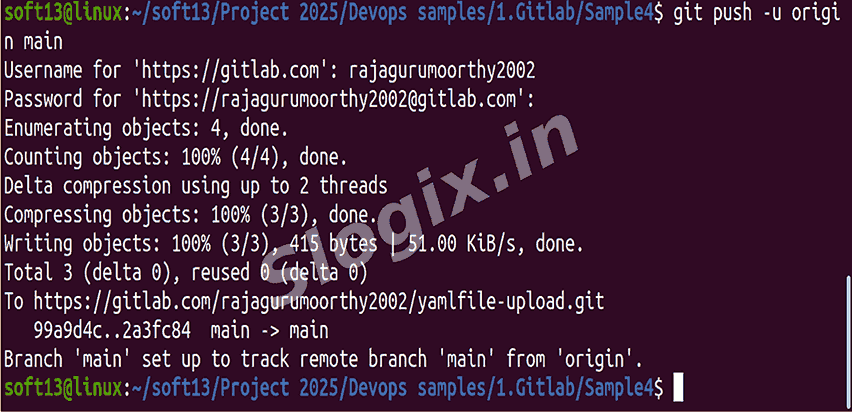
Step 11 — Push again after syncing
After the pull/rebase completes and there are no conflicts, push your branch:
git push -u origin main
If GitLab asks for credentials, use a Personal Access Token as the password for HTTPS, or configure SSH and push via git@gitlab.com:...
 Research Breakthrough Possible @S-Logix