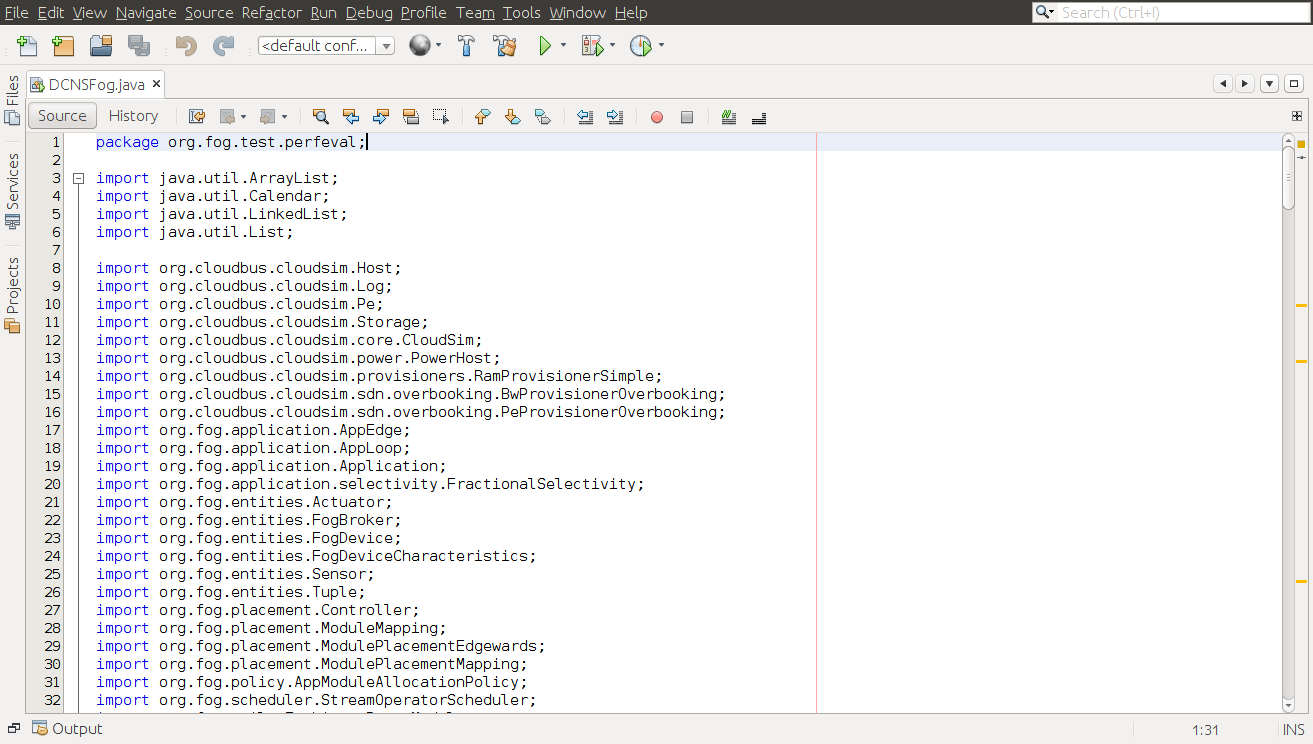
iFogSim is a framework which contains libraries and does not have to be installed. We need to unpack the downloaded package on any directory, add it to the Java classpath and it is ready to be used.
Download “iFogSim-master.zip” source code from the address “https://github.com/Cloudslab/iFogSim”
Extract the zip file, it will be extracted with the folder name of EdgeCloudSim-master and it contains the sub-folders of doc, lib, scripts and src
Open the NetBeans IDE. Create a new Project by selecting the “NewProject” command from the file menu of IDE.
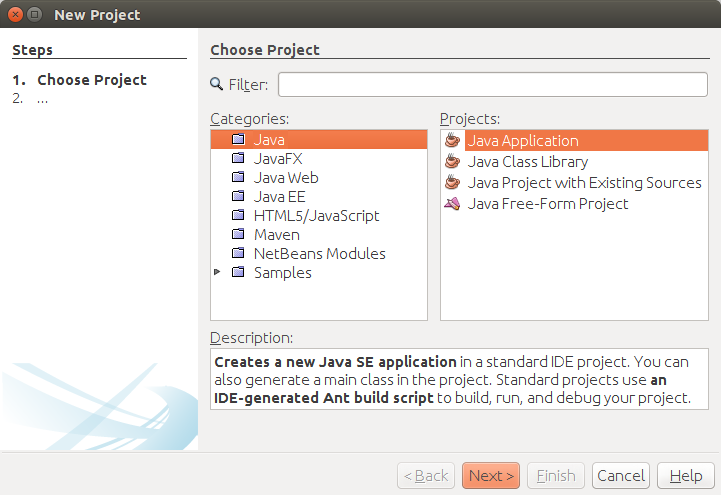
Now select “Java” from catagories box and choose “Java Application” from Projects box. Then click “Next” button.
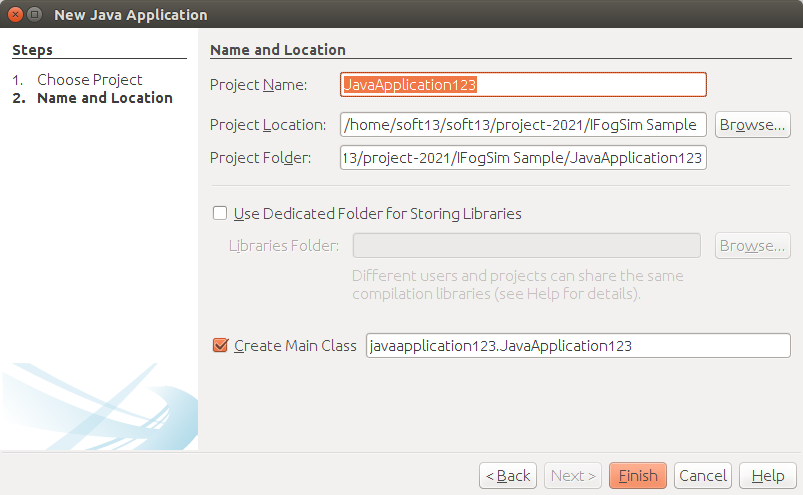
Change the Project Name
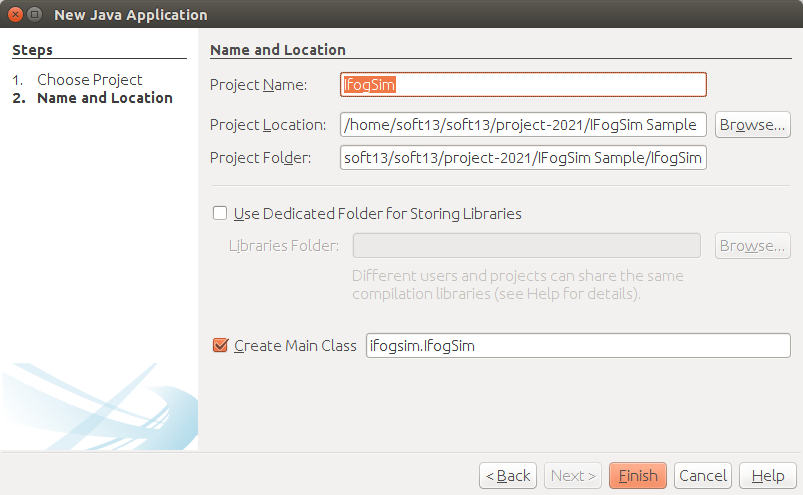
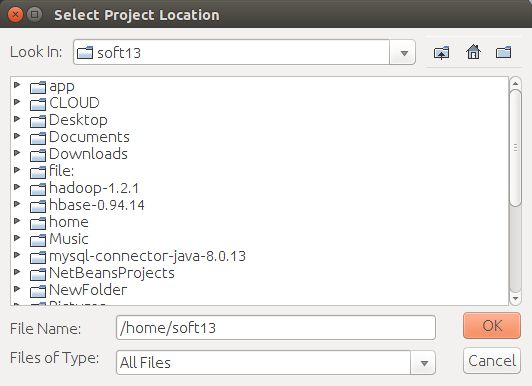
Select the project location where you want to store it.
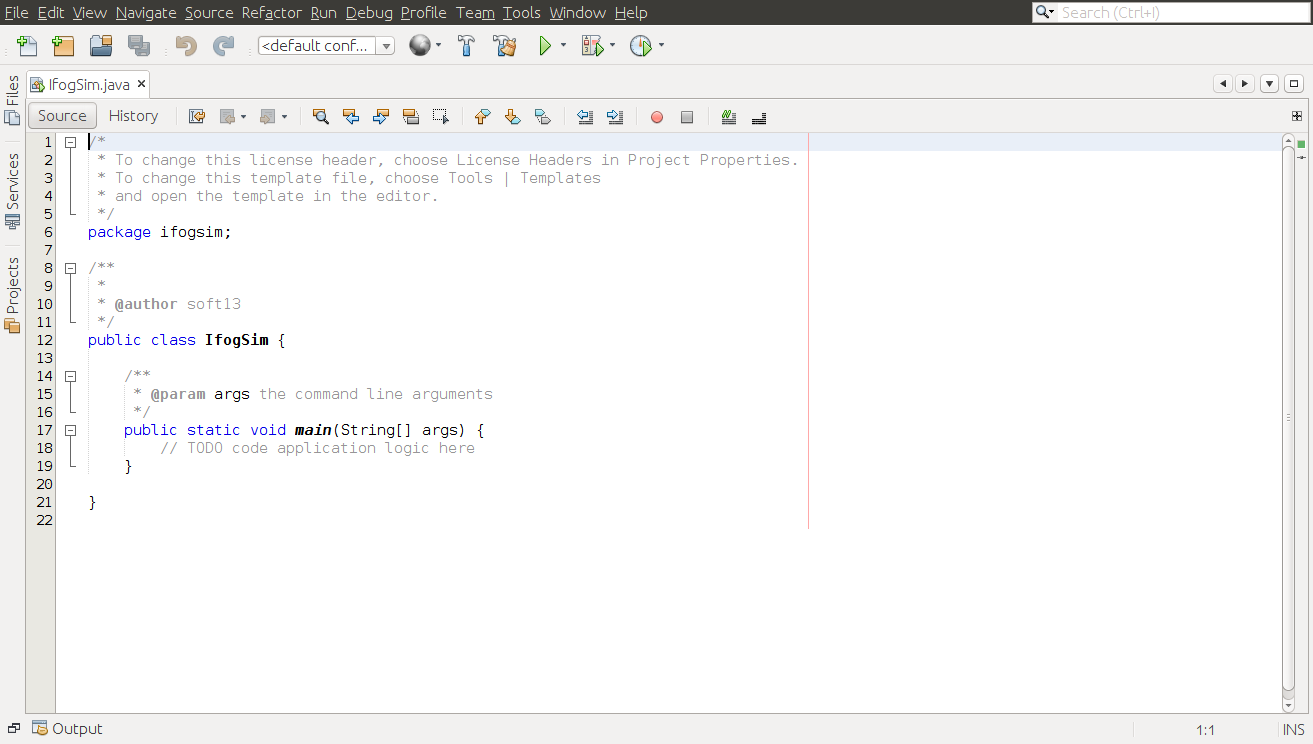
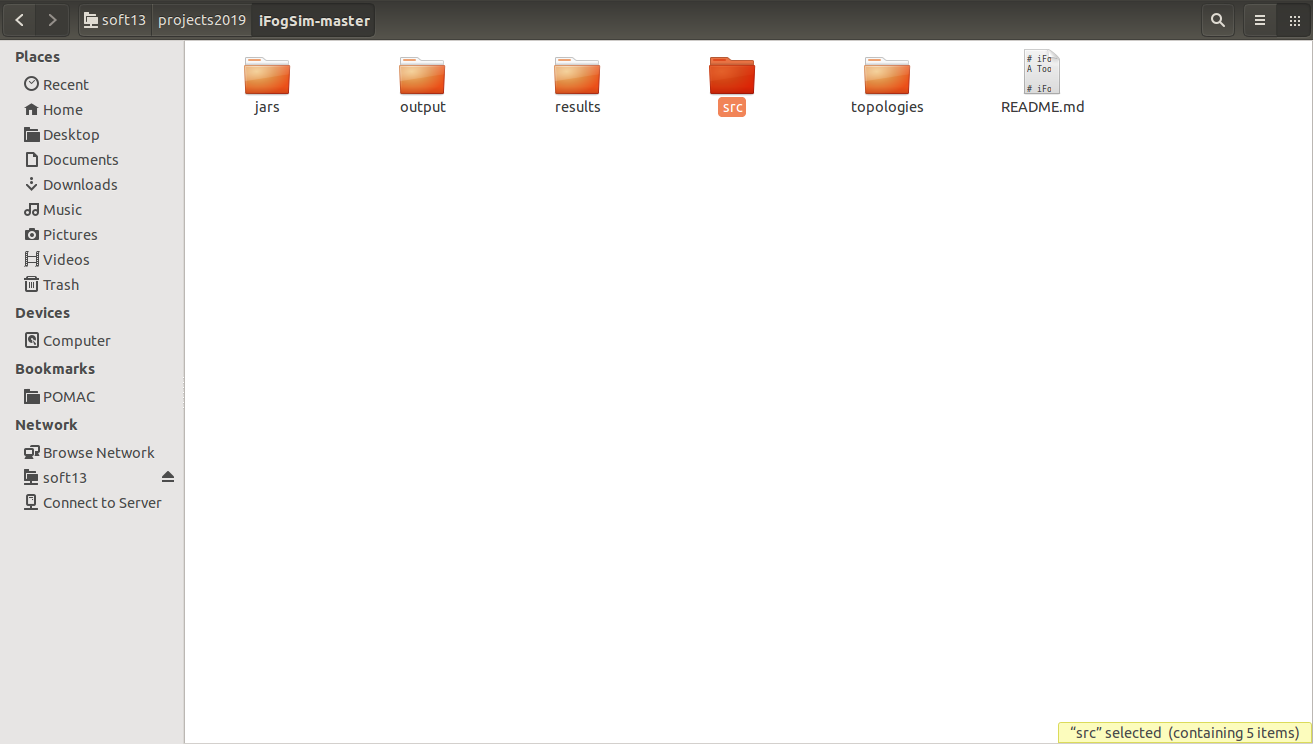
Now open the iFogSim-master folder. It contains the subfolders doc, lib, scripts and src. Double click on “src” folder.
Copy the entire folder.
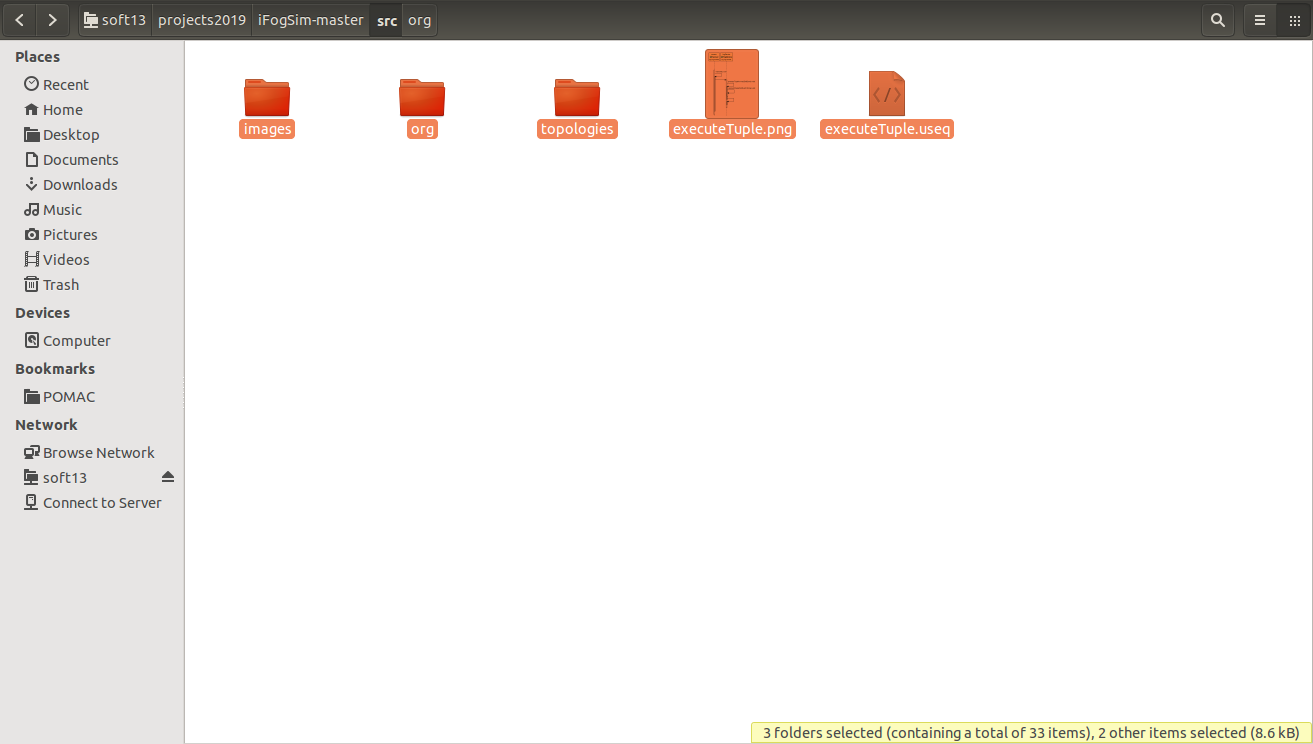
Paste all the selected folder into newly created IFogSim->src folder.
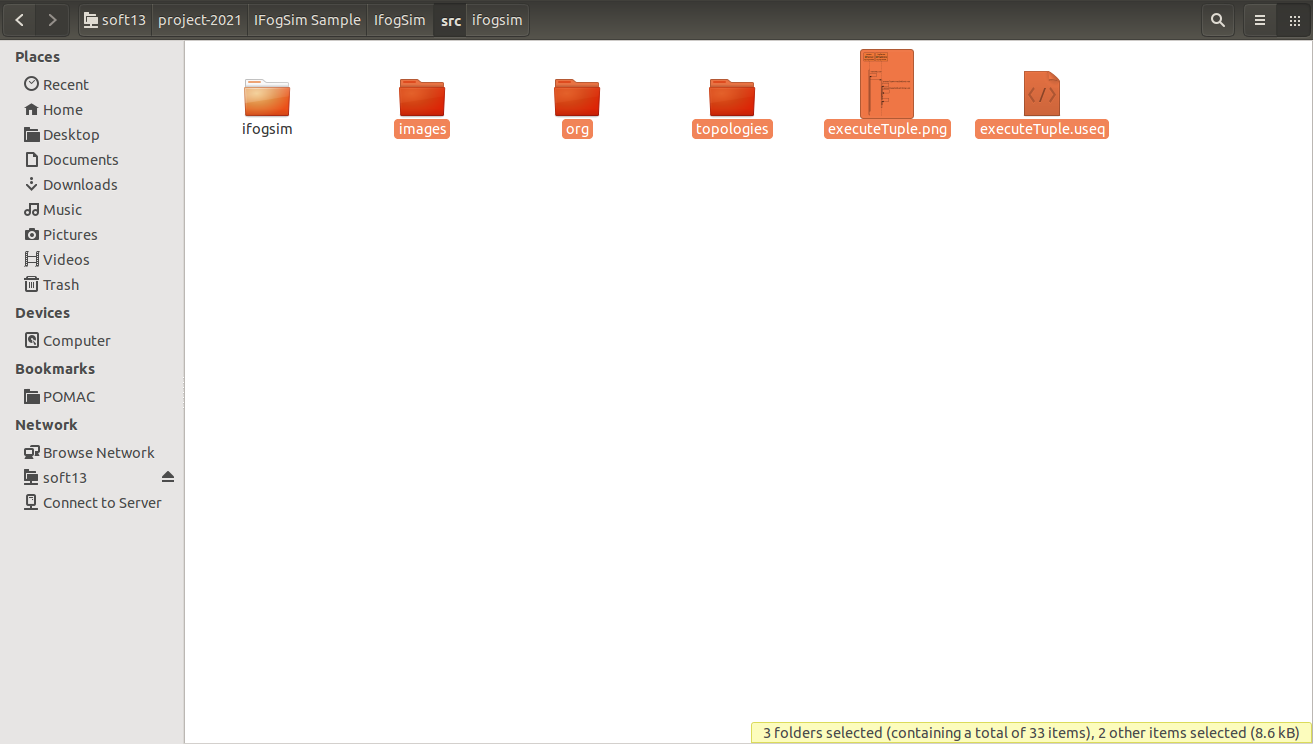
Complete all the initial processing for installation of iFogSim.
Now again activate NetBeans IDE, choose “Open Project” command from file menu.
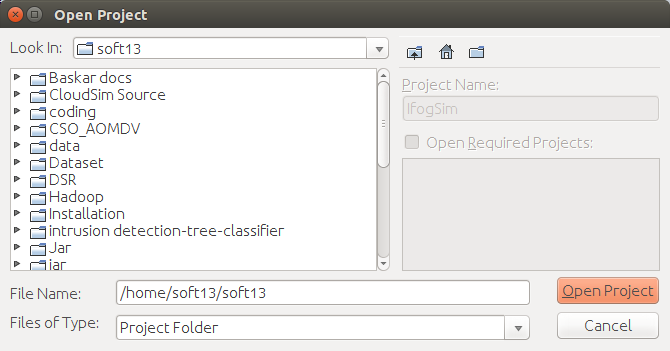
Select the IFogsim file , Click open project button.
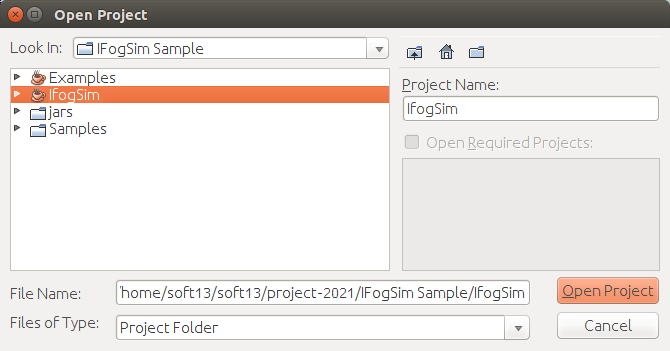
IfogSim source code project will be opened.
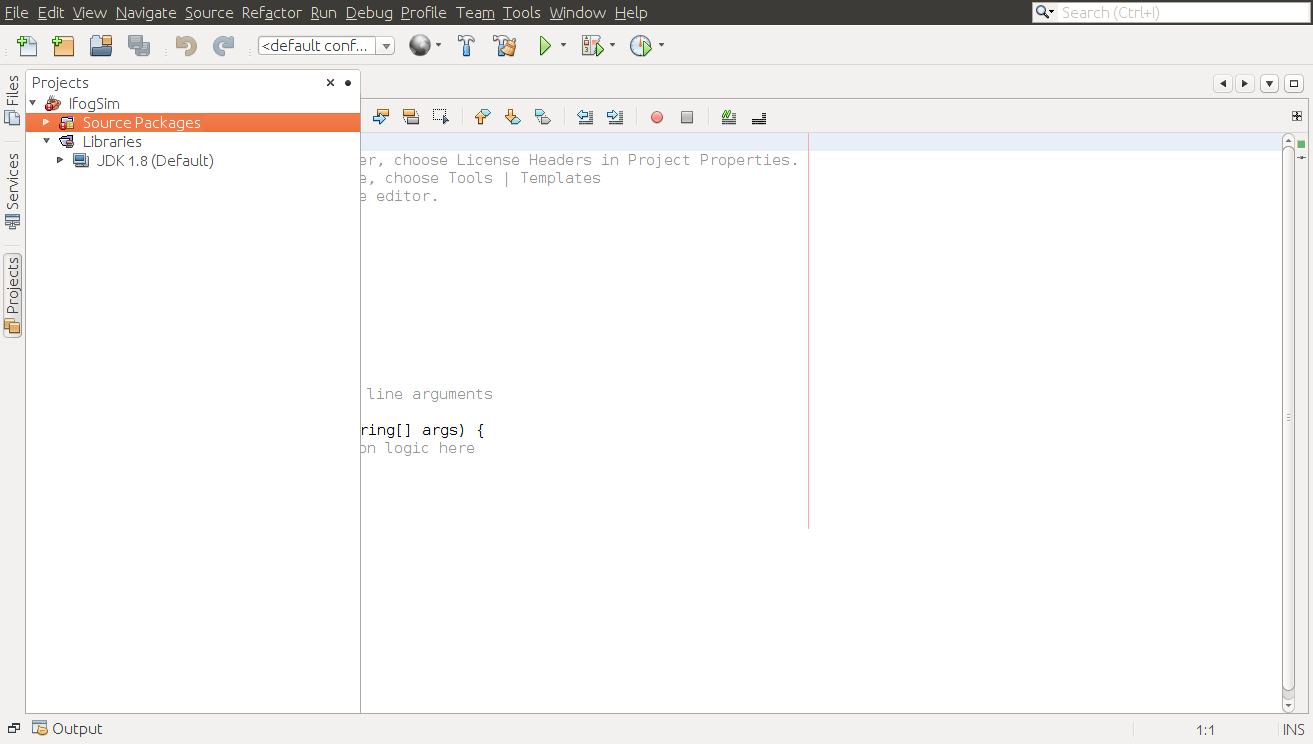
But it shows some errors in the source code
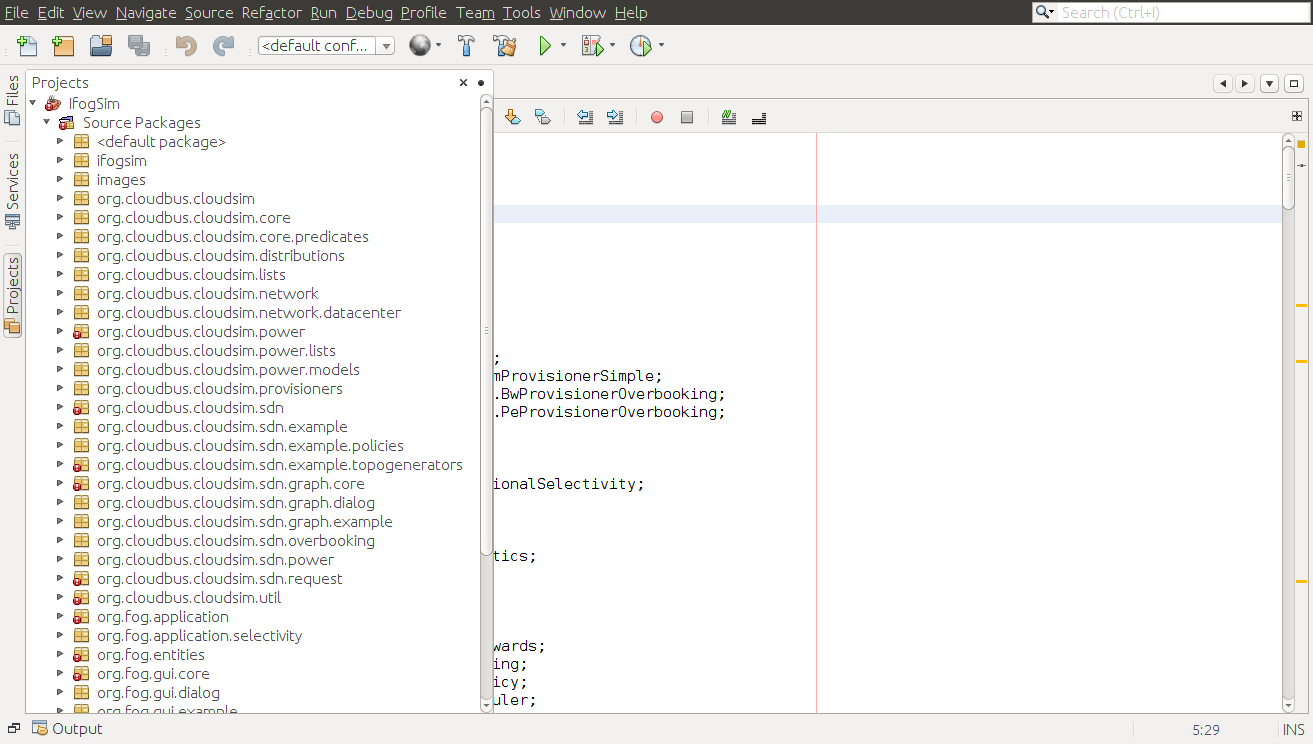
You should add the jar files into “libraries” folder in the projects.
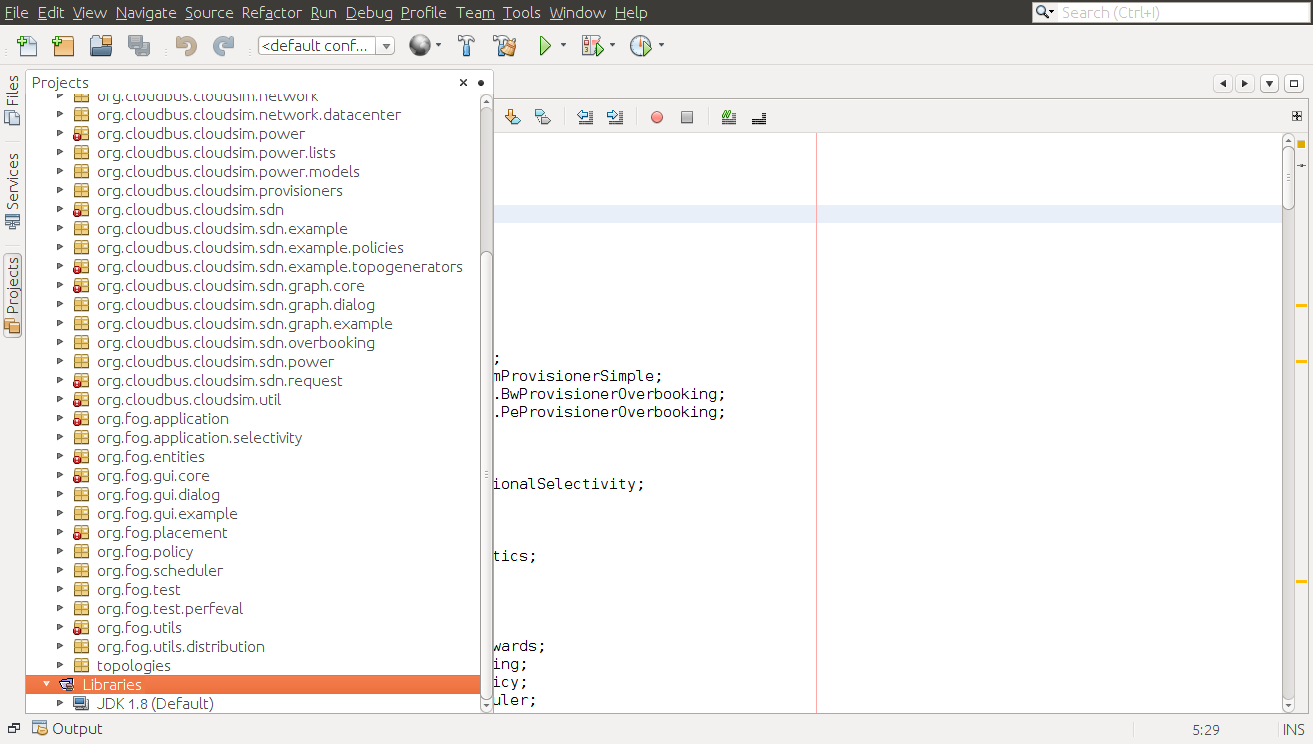
Select “libraries” folder and “Right click” on it and choose “add JAR/folder” menu.
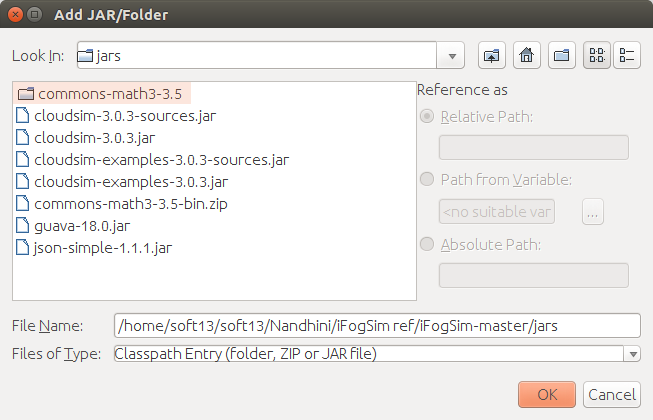
Add jar files by click on Ok button.
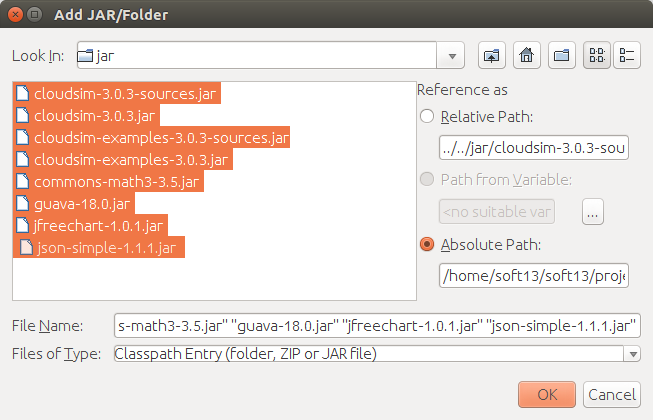
Now all jar files are added and listed below to libraries folder.
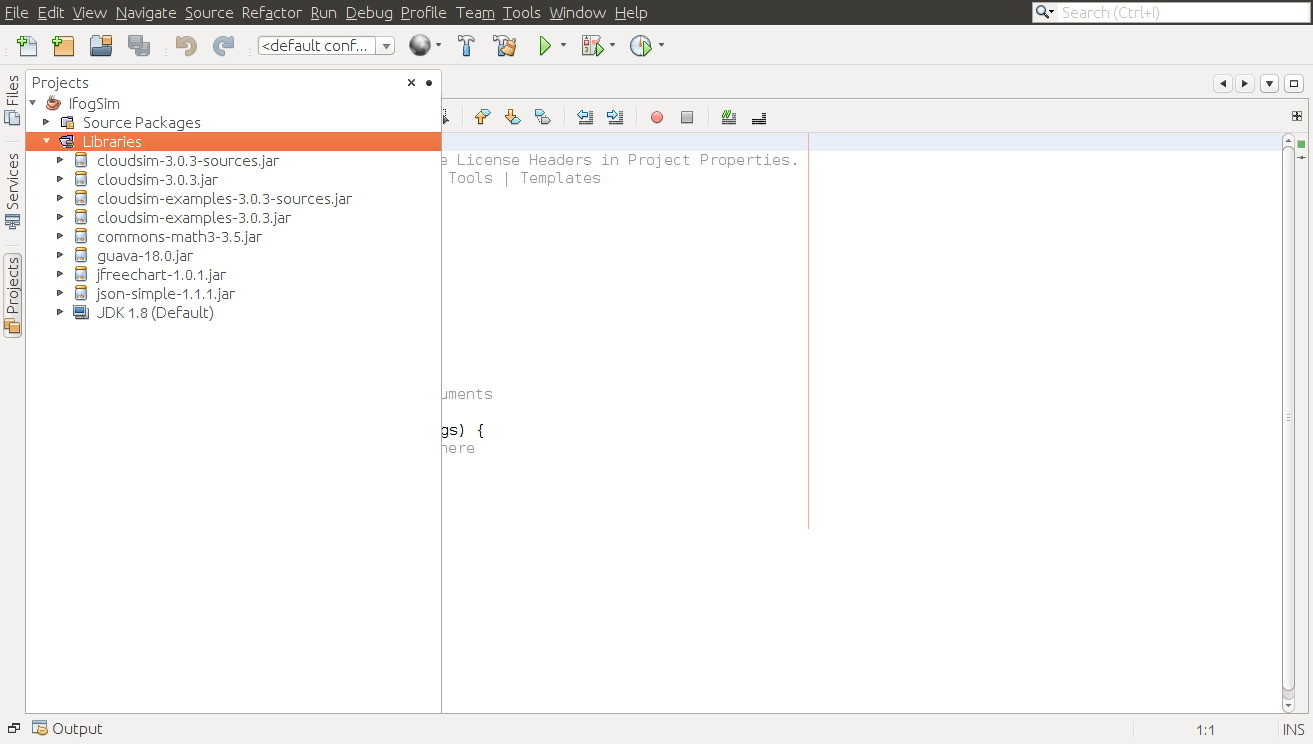
IFogSim source code project successfully installed.
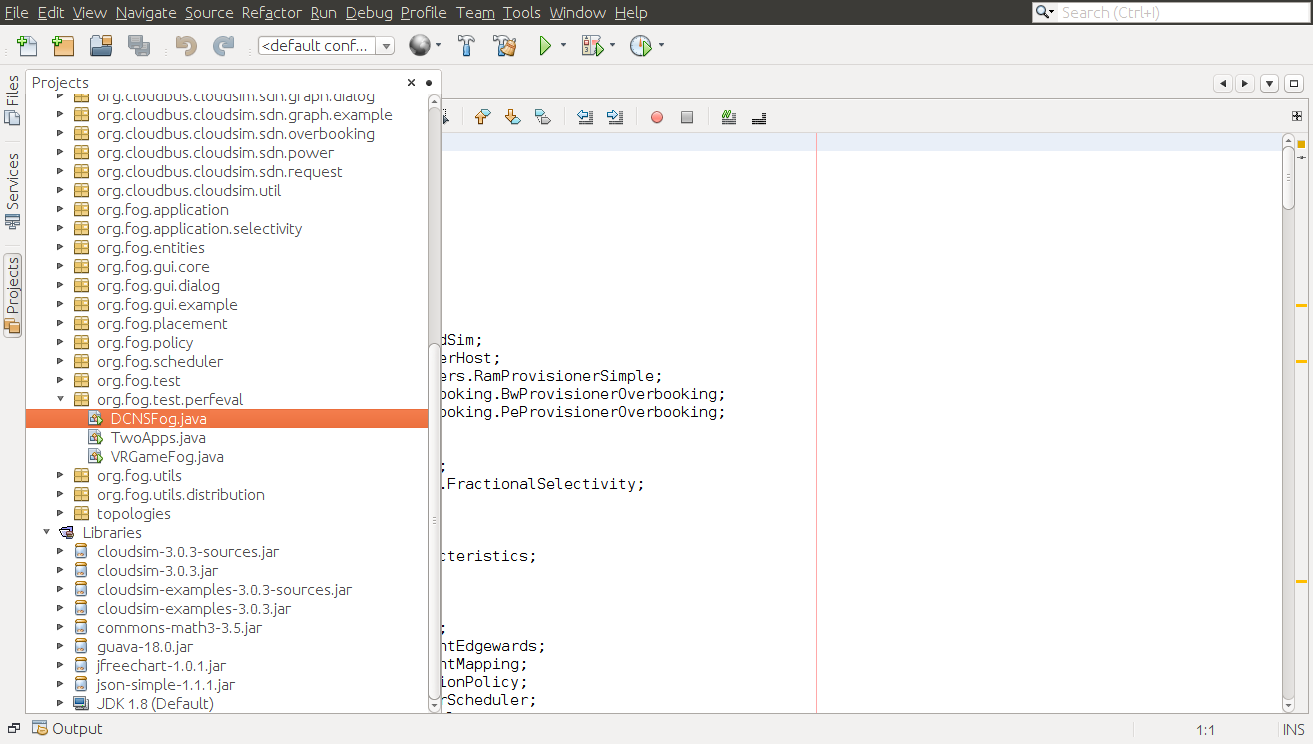
Run successfully any sample applications with this tool.
